Transfers on Hubble Bridge
This guide will provide a step-by-step process to assist in making a transfers on the Hubble Bridge.
Transfer Inputs
You have made an deposit on the bridge and would like to transfer your shielded assets to another recipient. It is important to note, that transfering shielded assets requires the recipient to have a shielded address and that assets during transfer operations never leave the shielded pool.
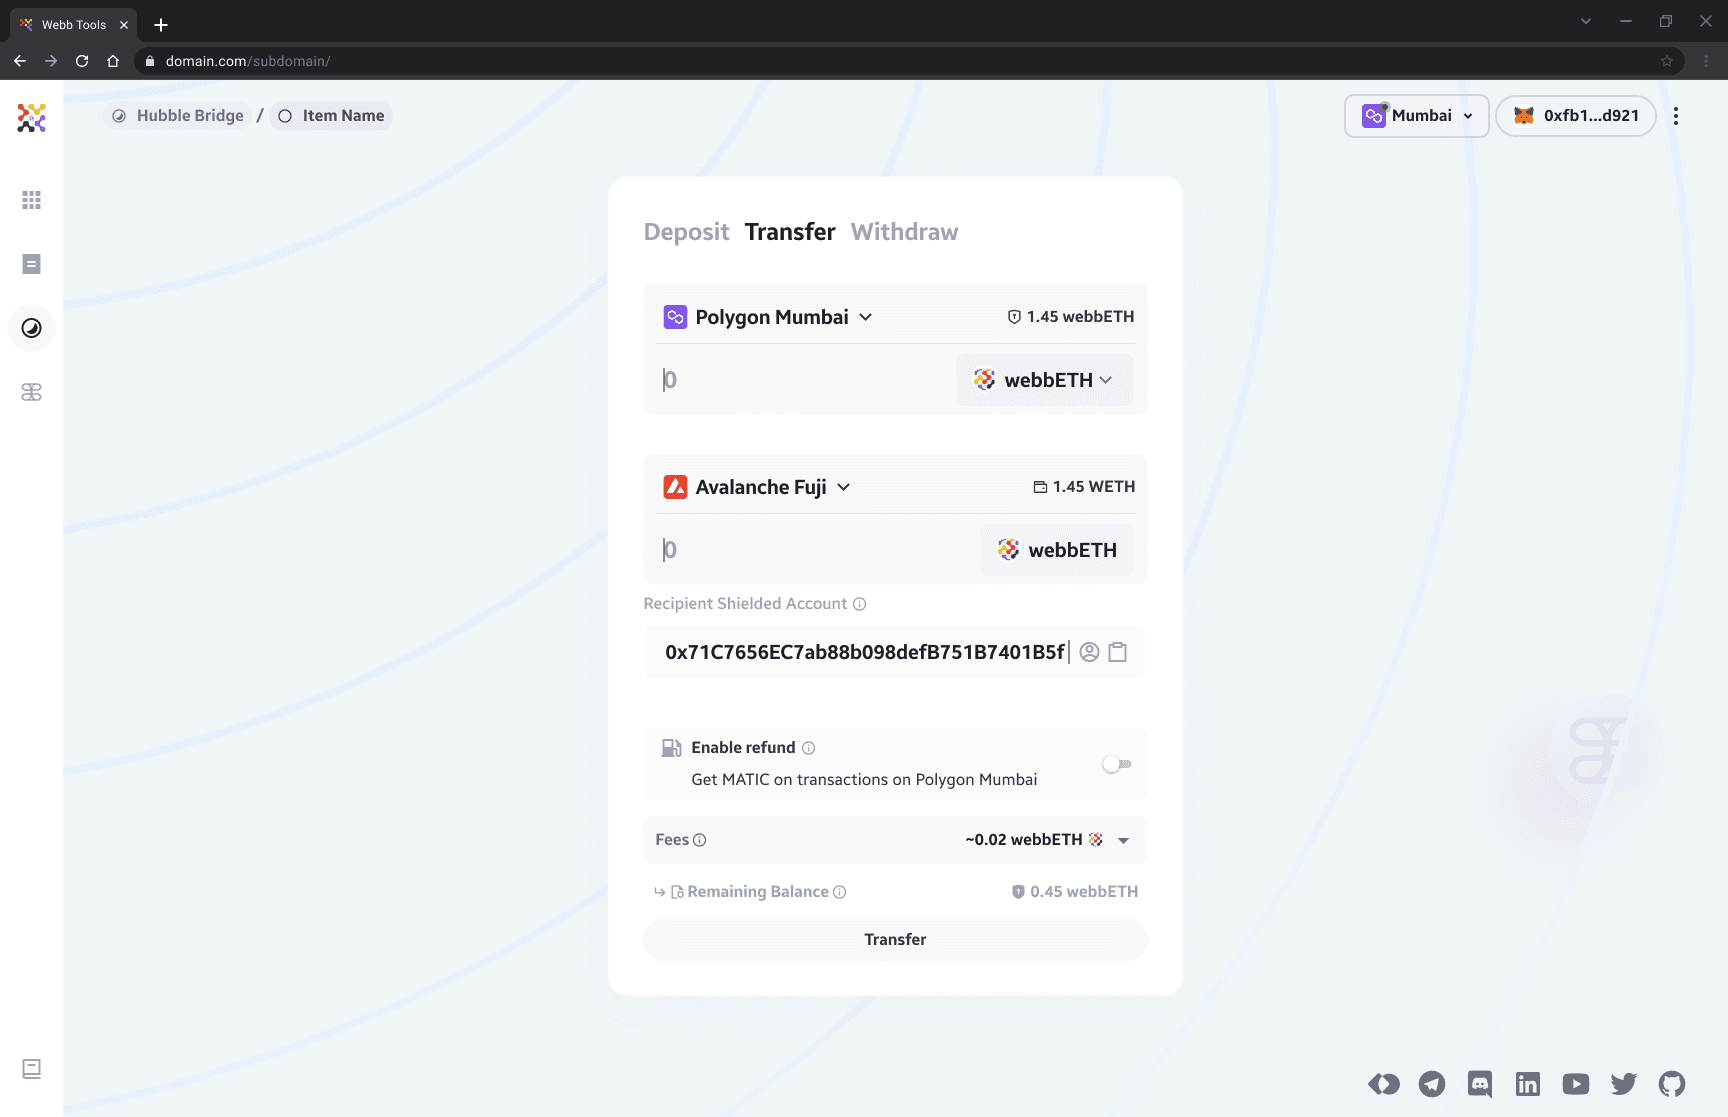
You will notice the Transfer button to be disabled initially. We must provide the details of our transaction before we can transfer.
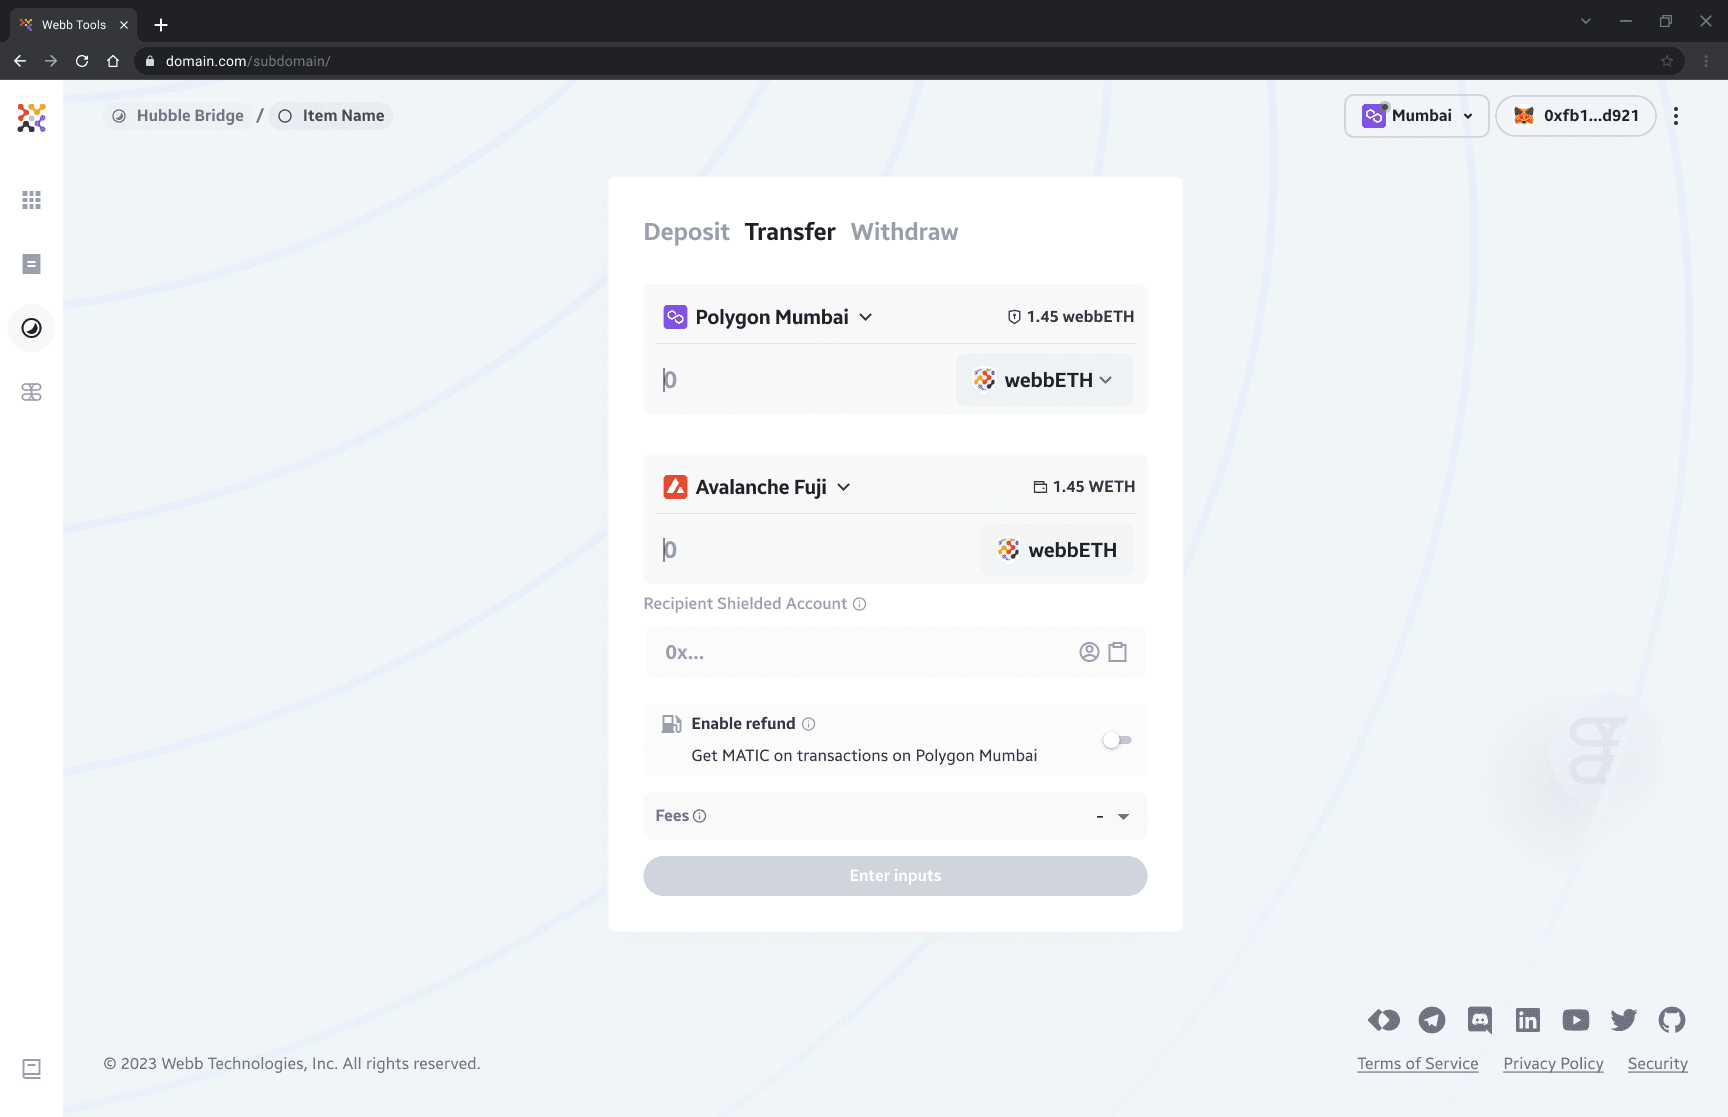
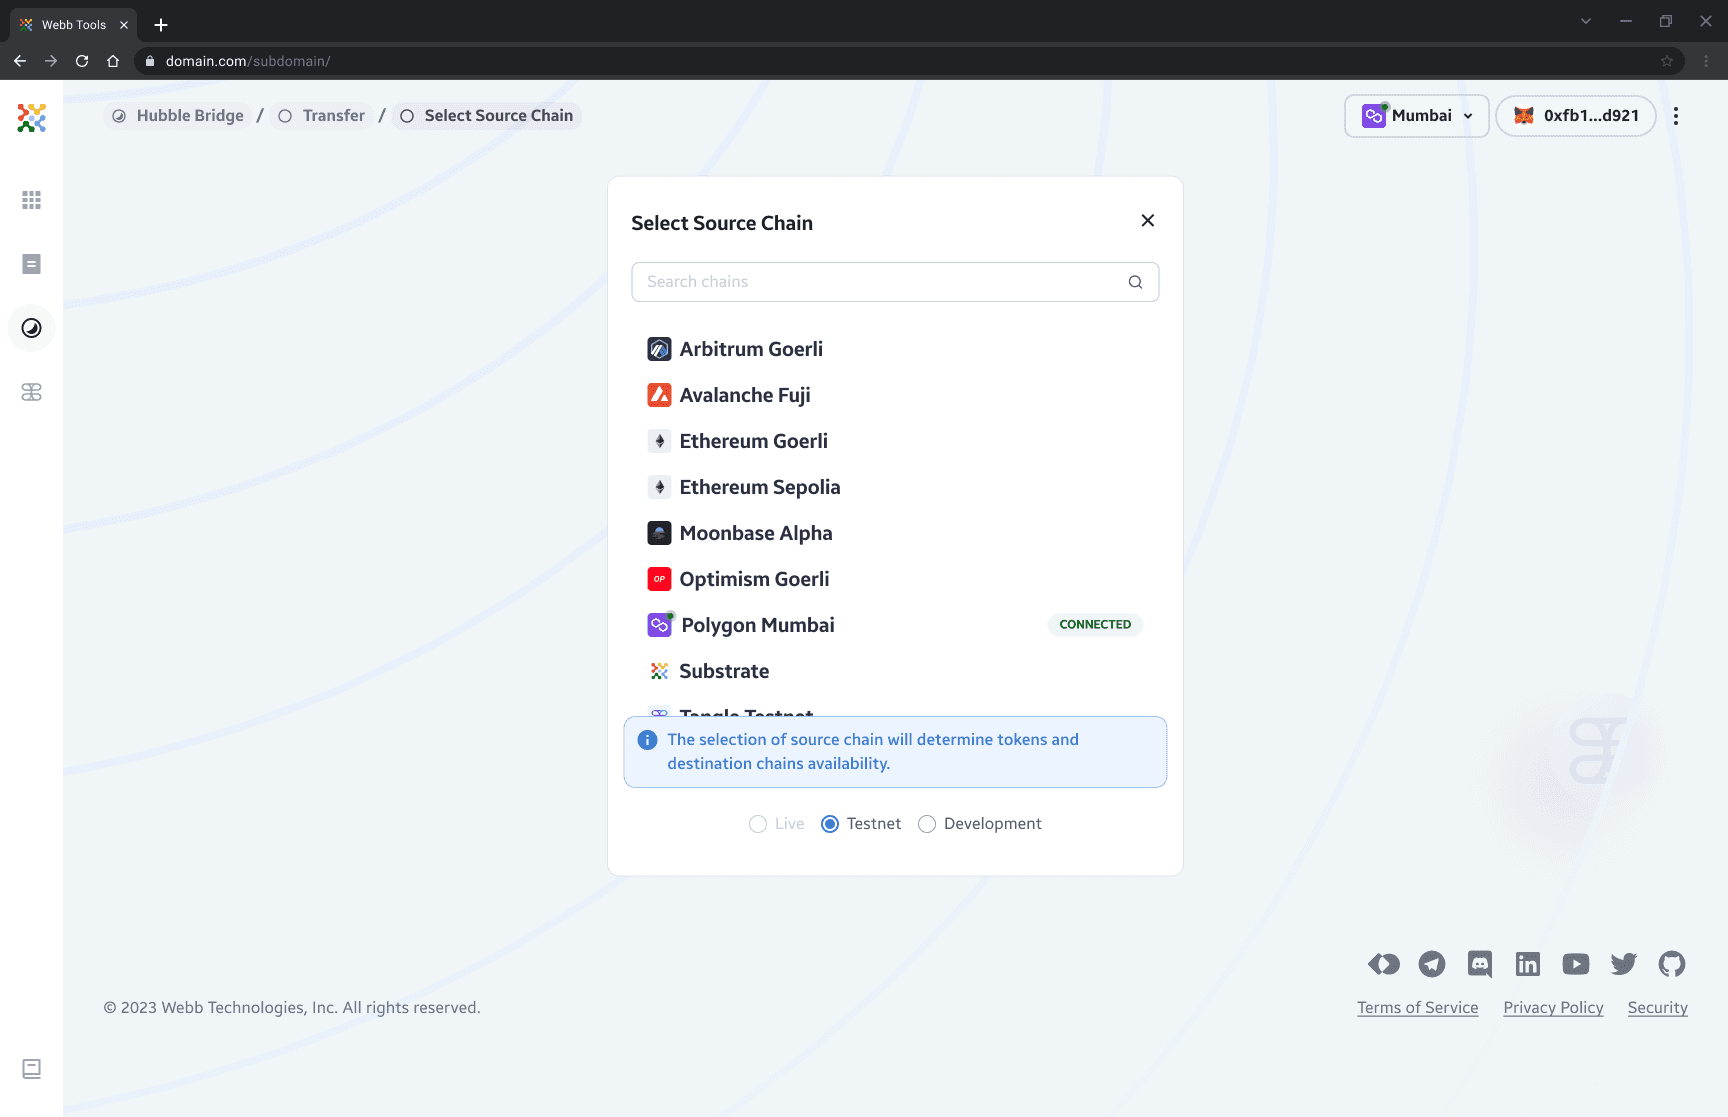
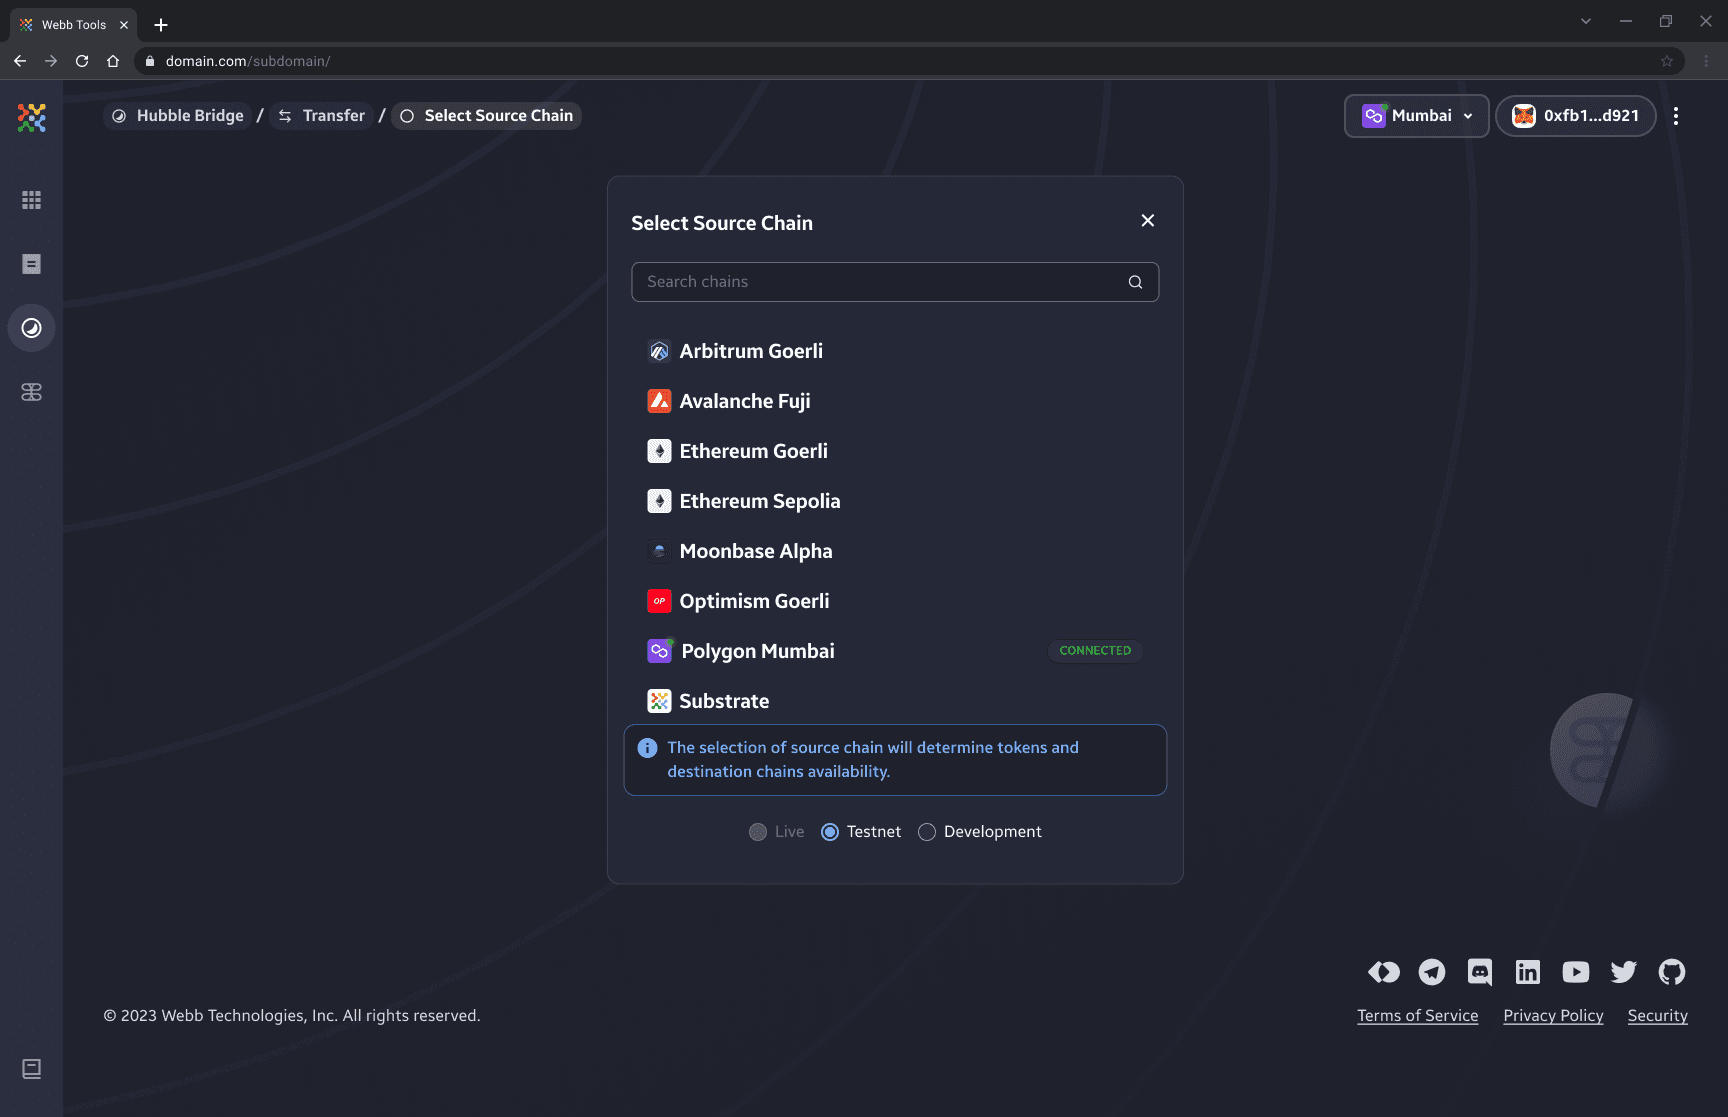
1. Select Source Chain
To get started we want to make sure we are connected to the network of the source chain of the shielded assets we're looking to transfer.
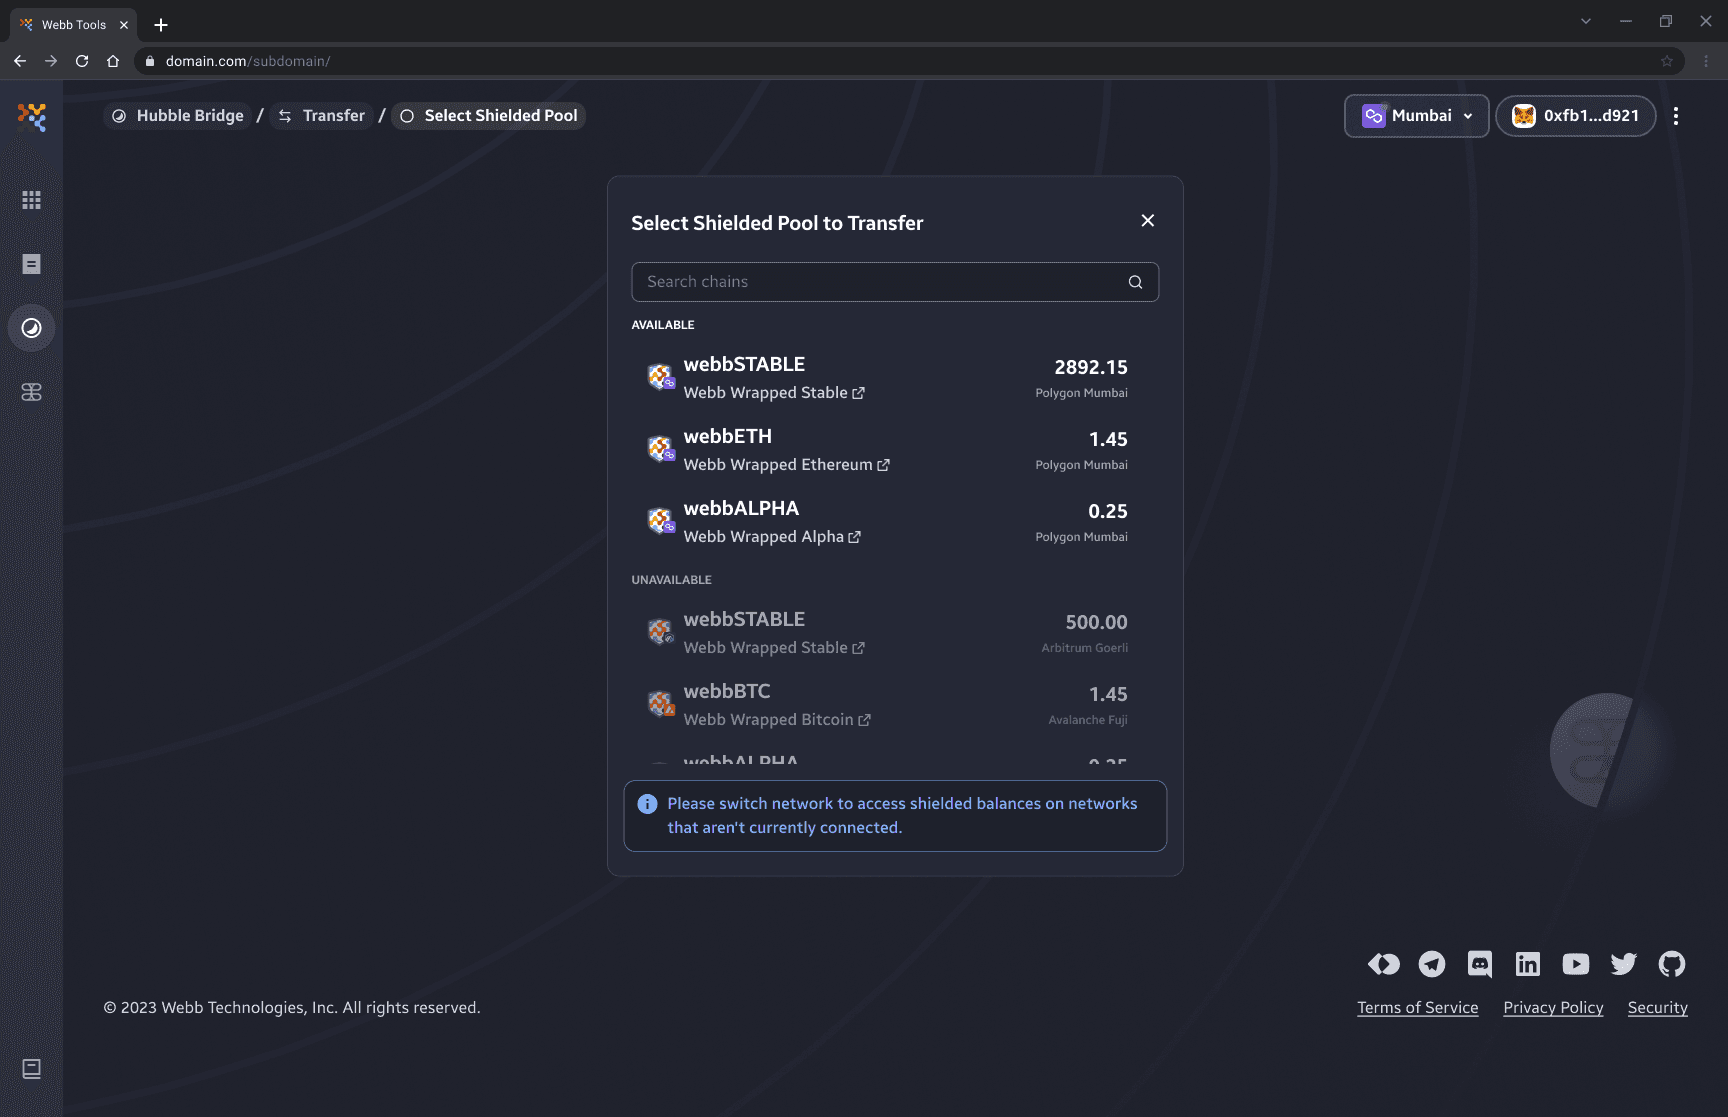
2. Select Asset to Transfer
Once you have selected the desired chain to transfer from we will need to select what shielded asset to transfer. Clicking on the token selection component will display the available assets to transfer from within the shielded pools. These are assets that you have initiated in the deposit flow.
Note: The amount indicated next to the shield icon displays your shielded balance of the indicated token on the connected chain.

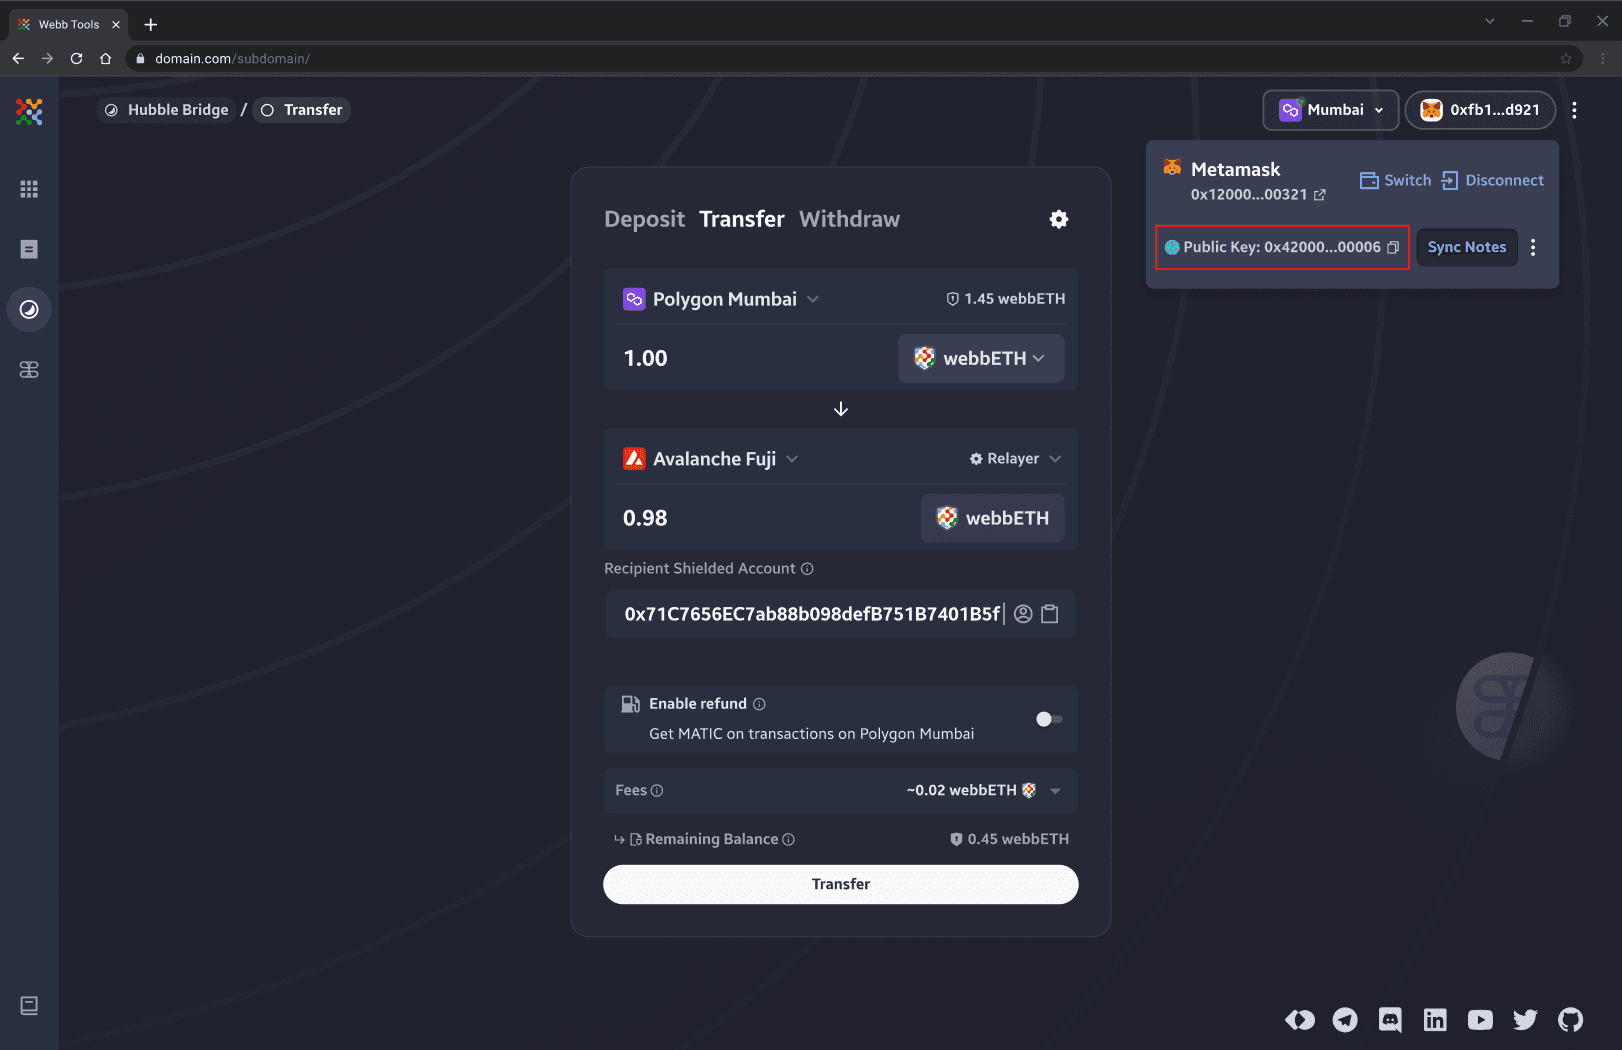
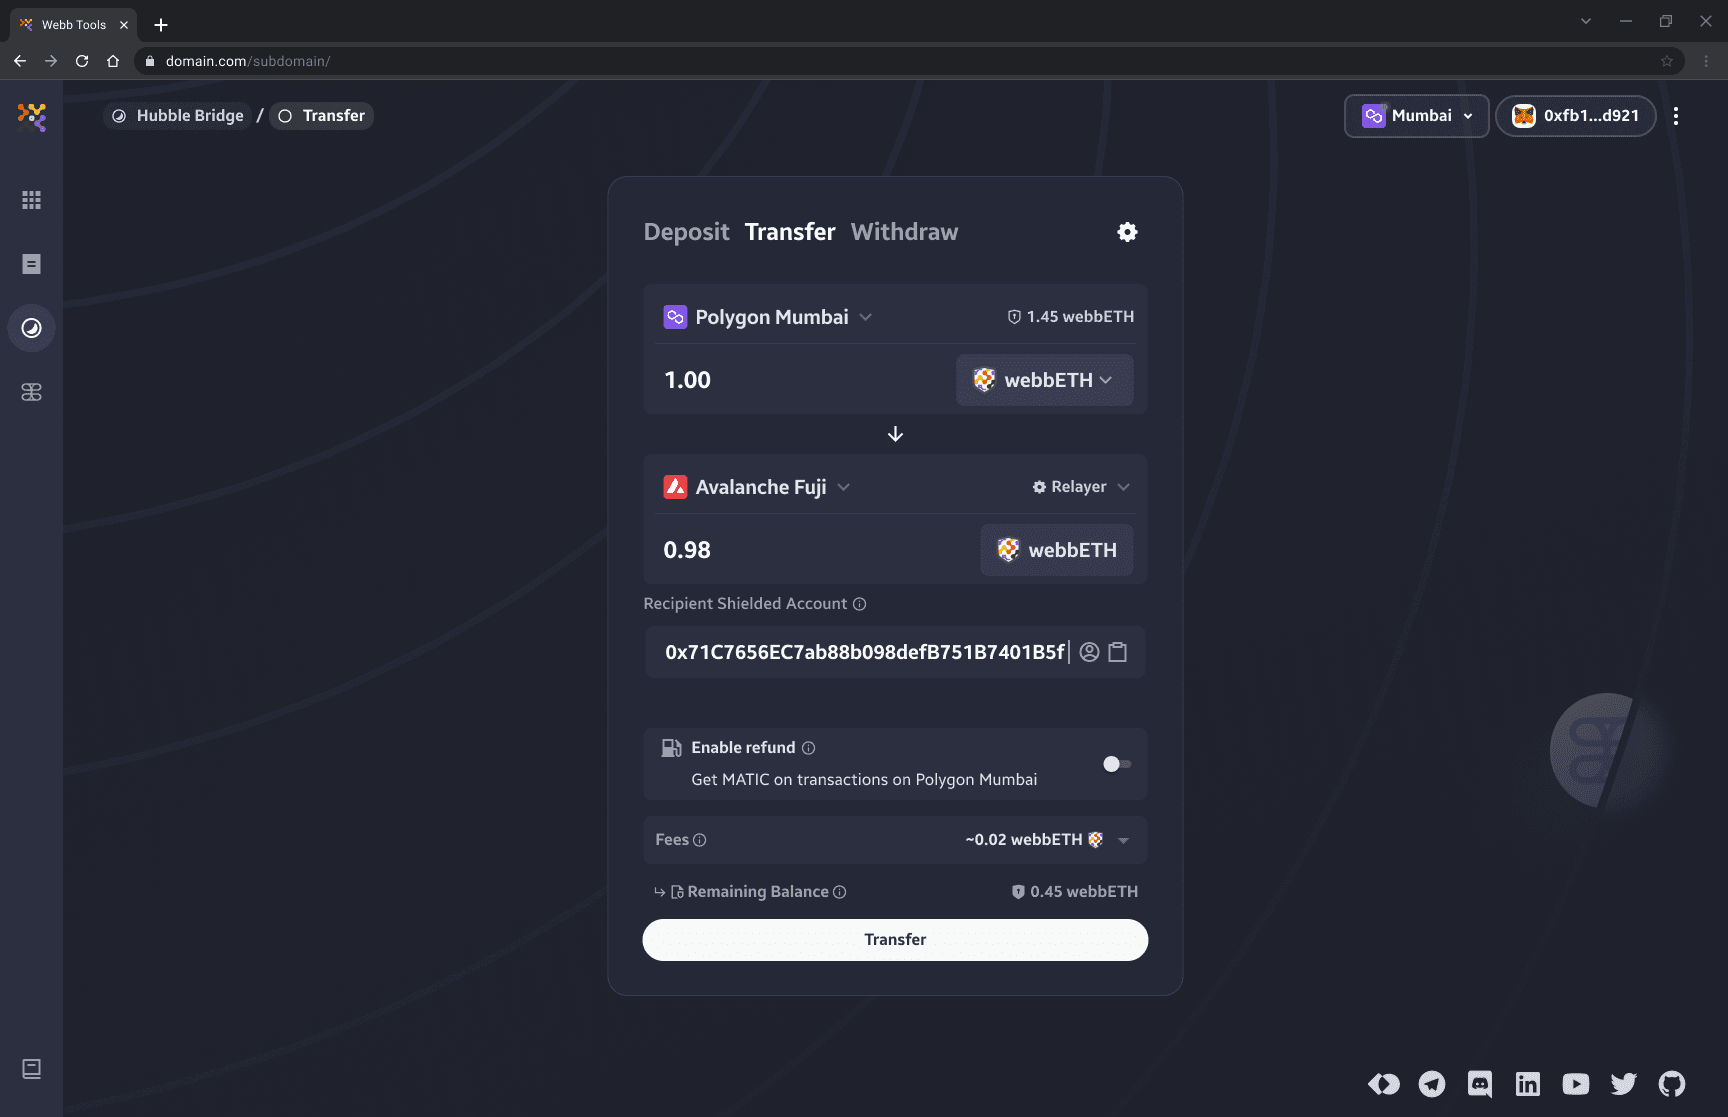
3. Input Amount
Input the amount you would like to transfer to the recipient. The amount must be less than or equal to the amount of the note. If you want to transfer the entire available balance simply click Max for a quick input.
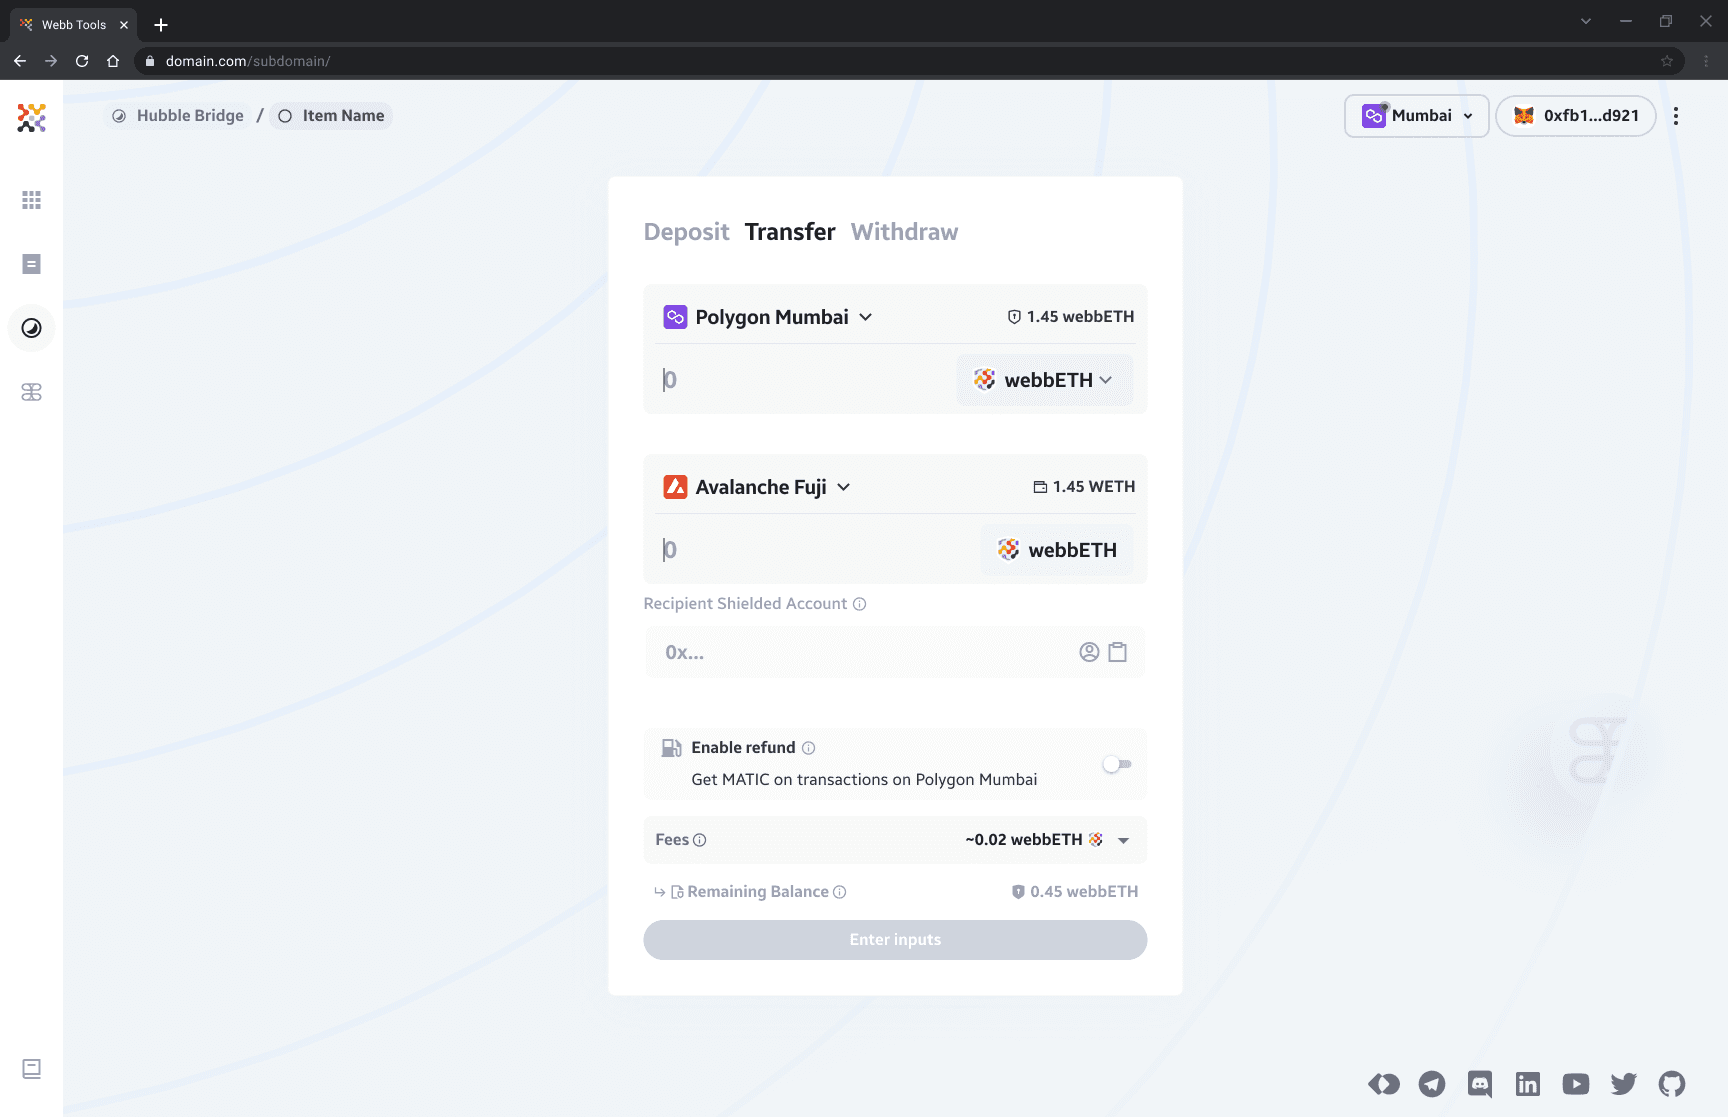

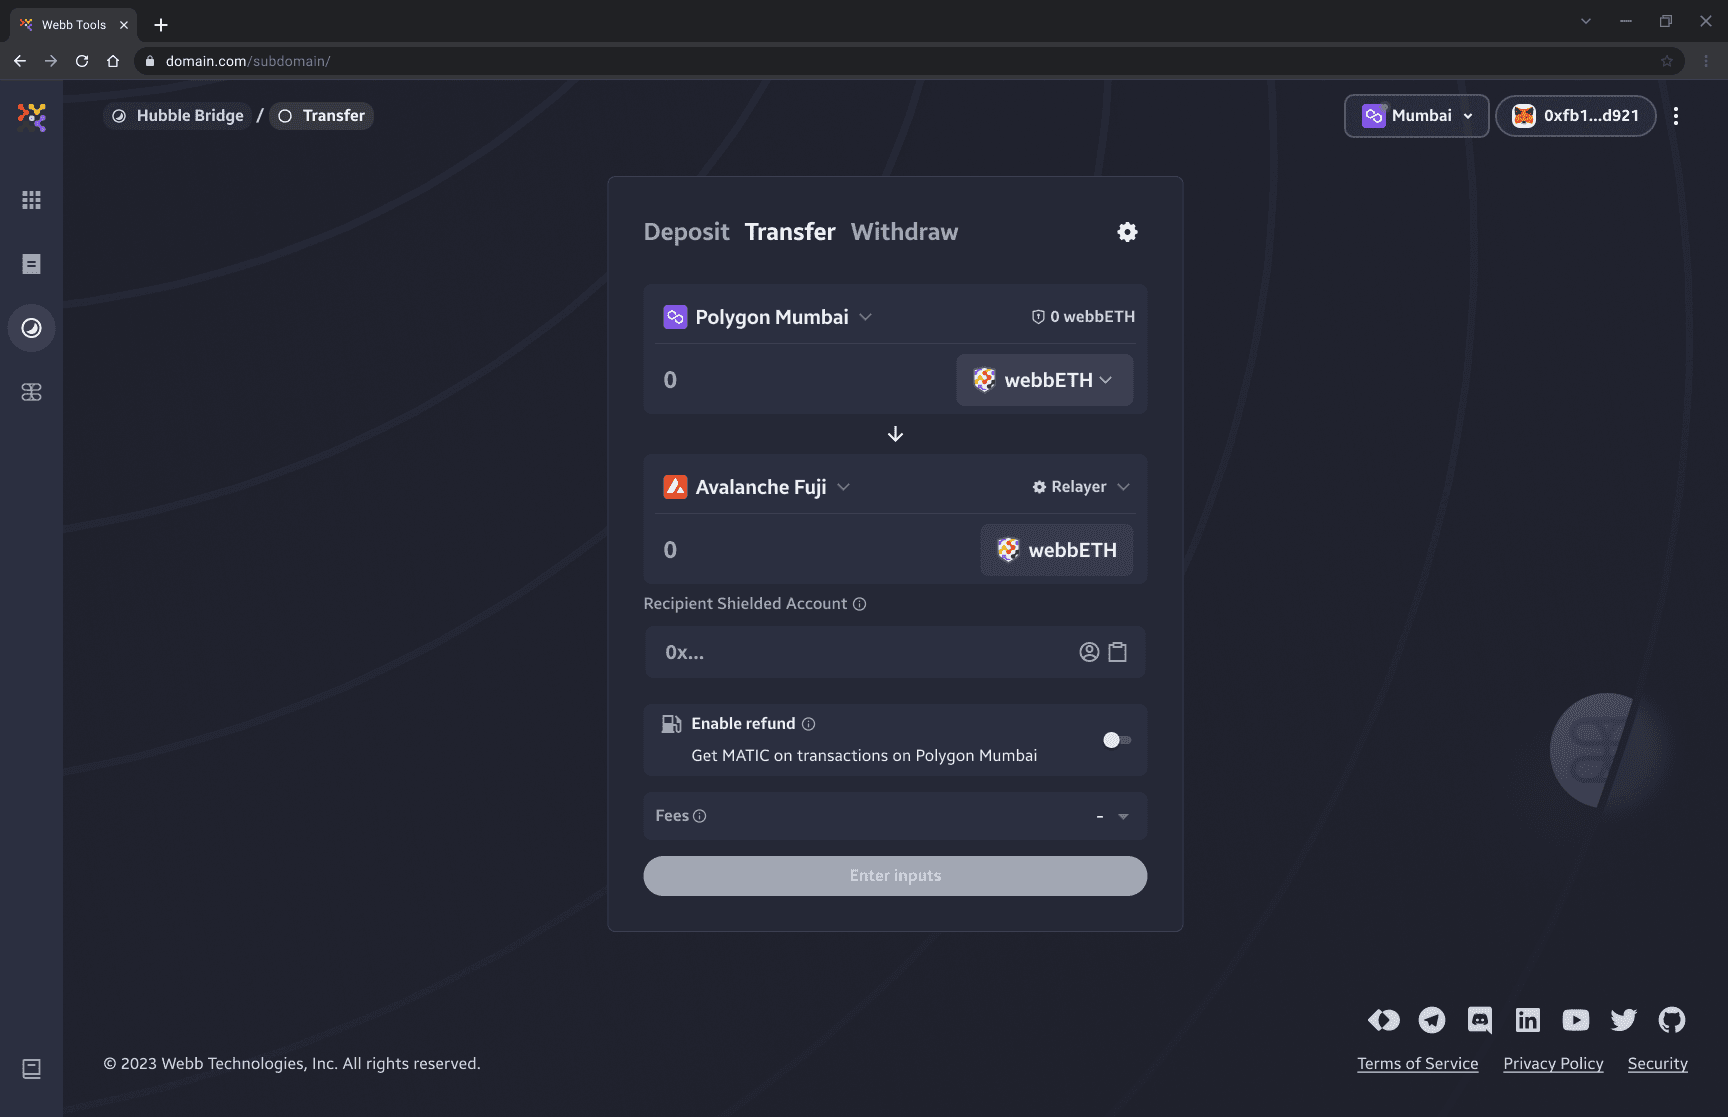
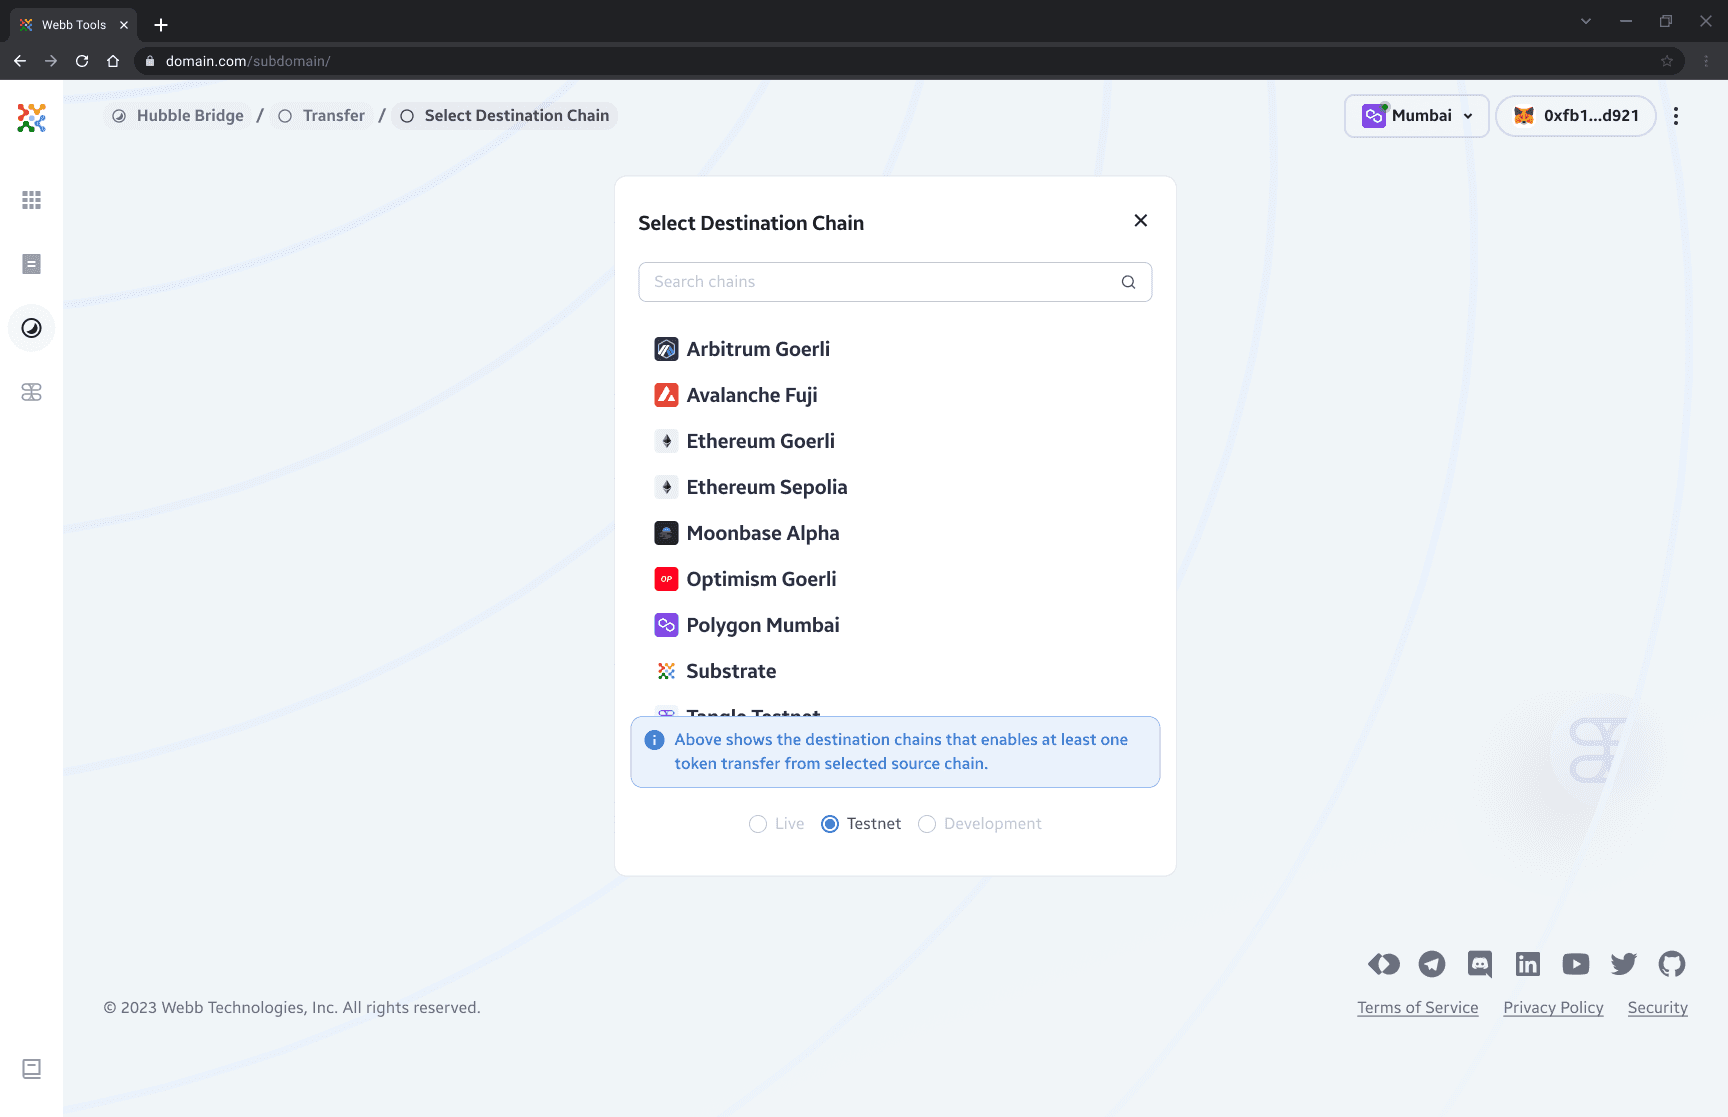
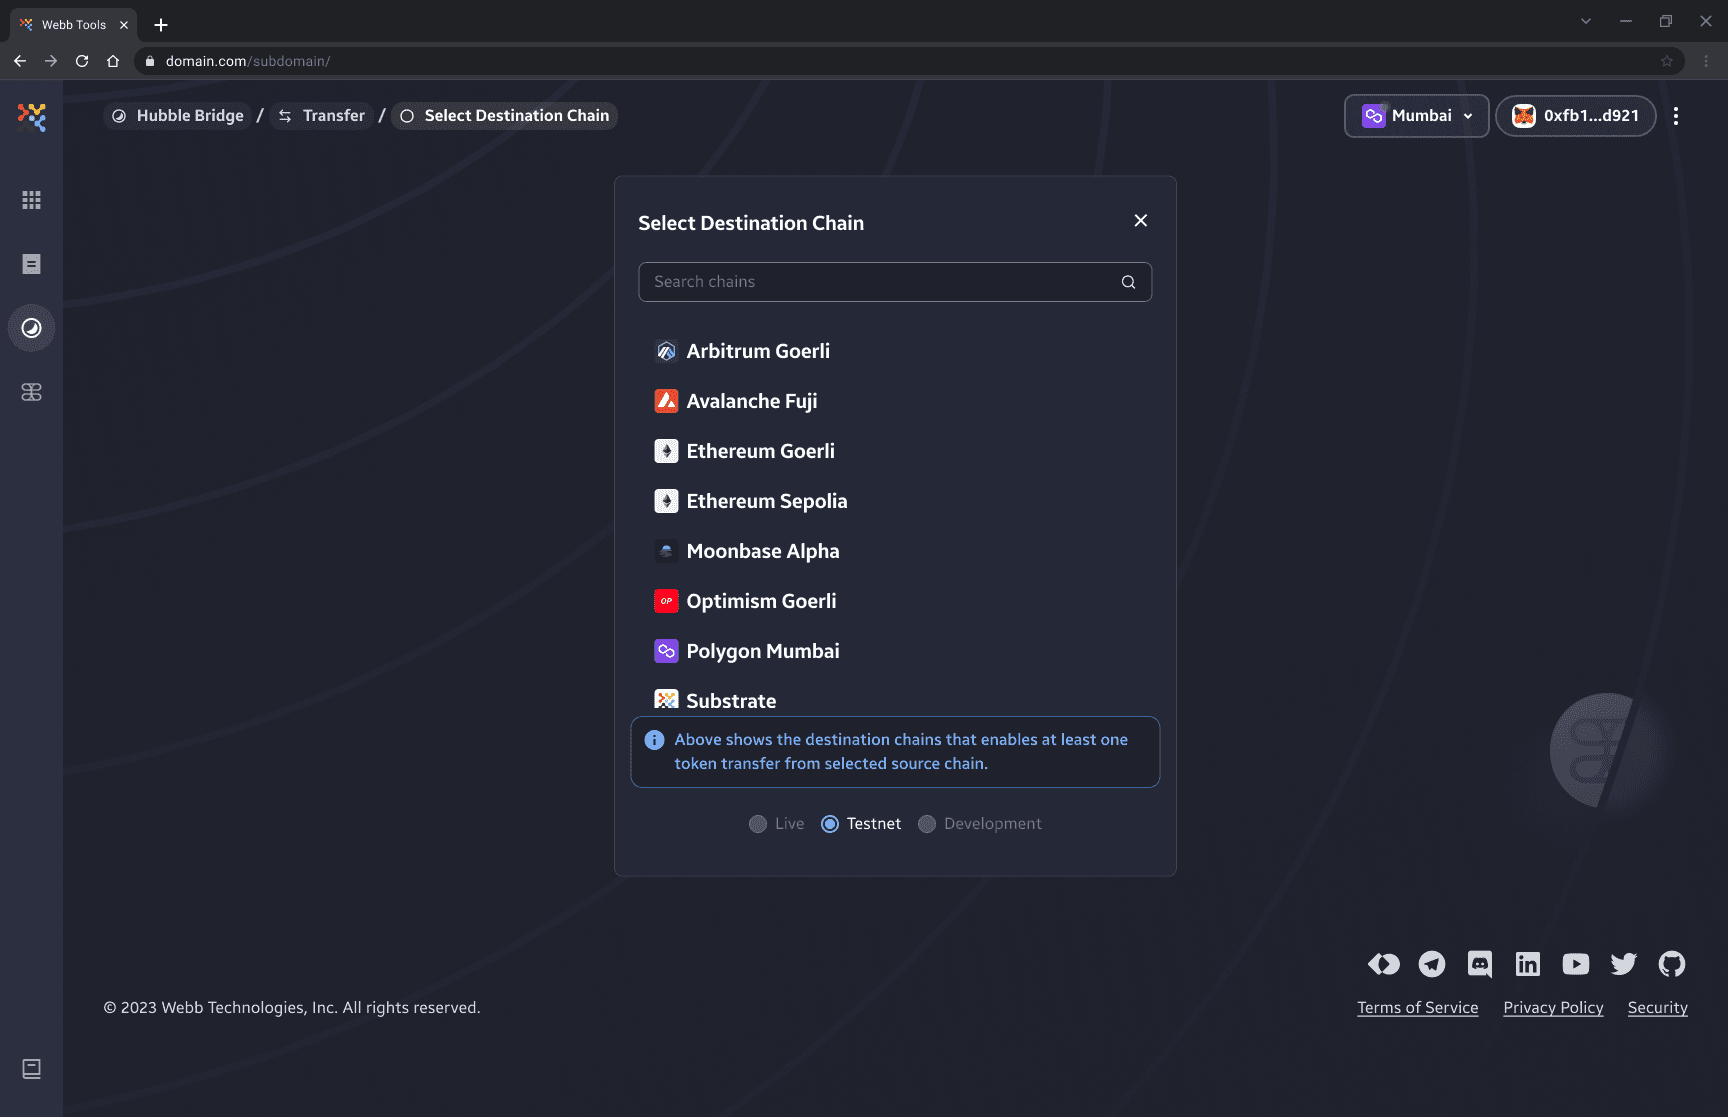
4. Select Destination Chain
You must specify a destination chain for the transfer operation. Be advised that you cannot change the destination chain after the transfer transaction is made and its only on this destination chain that the recipient will be able to withdraw from. Select the desired destination chain by clicking the destination chain component.
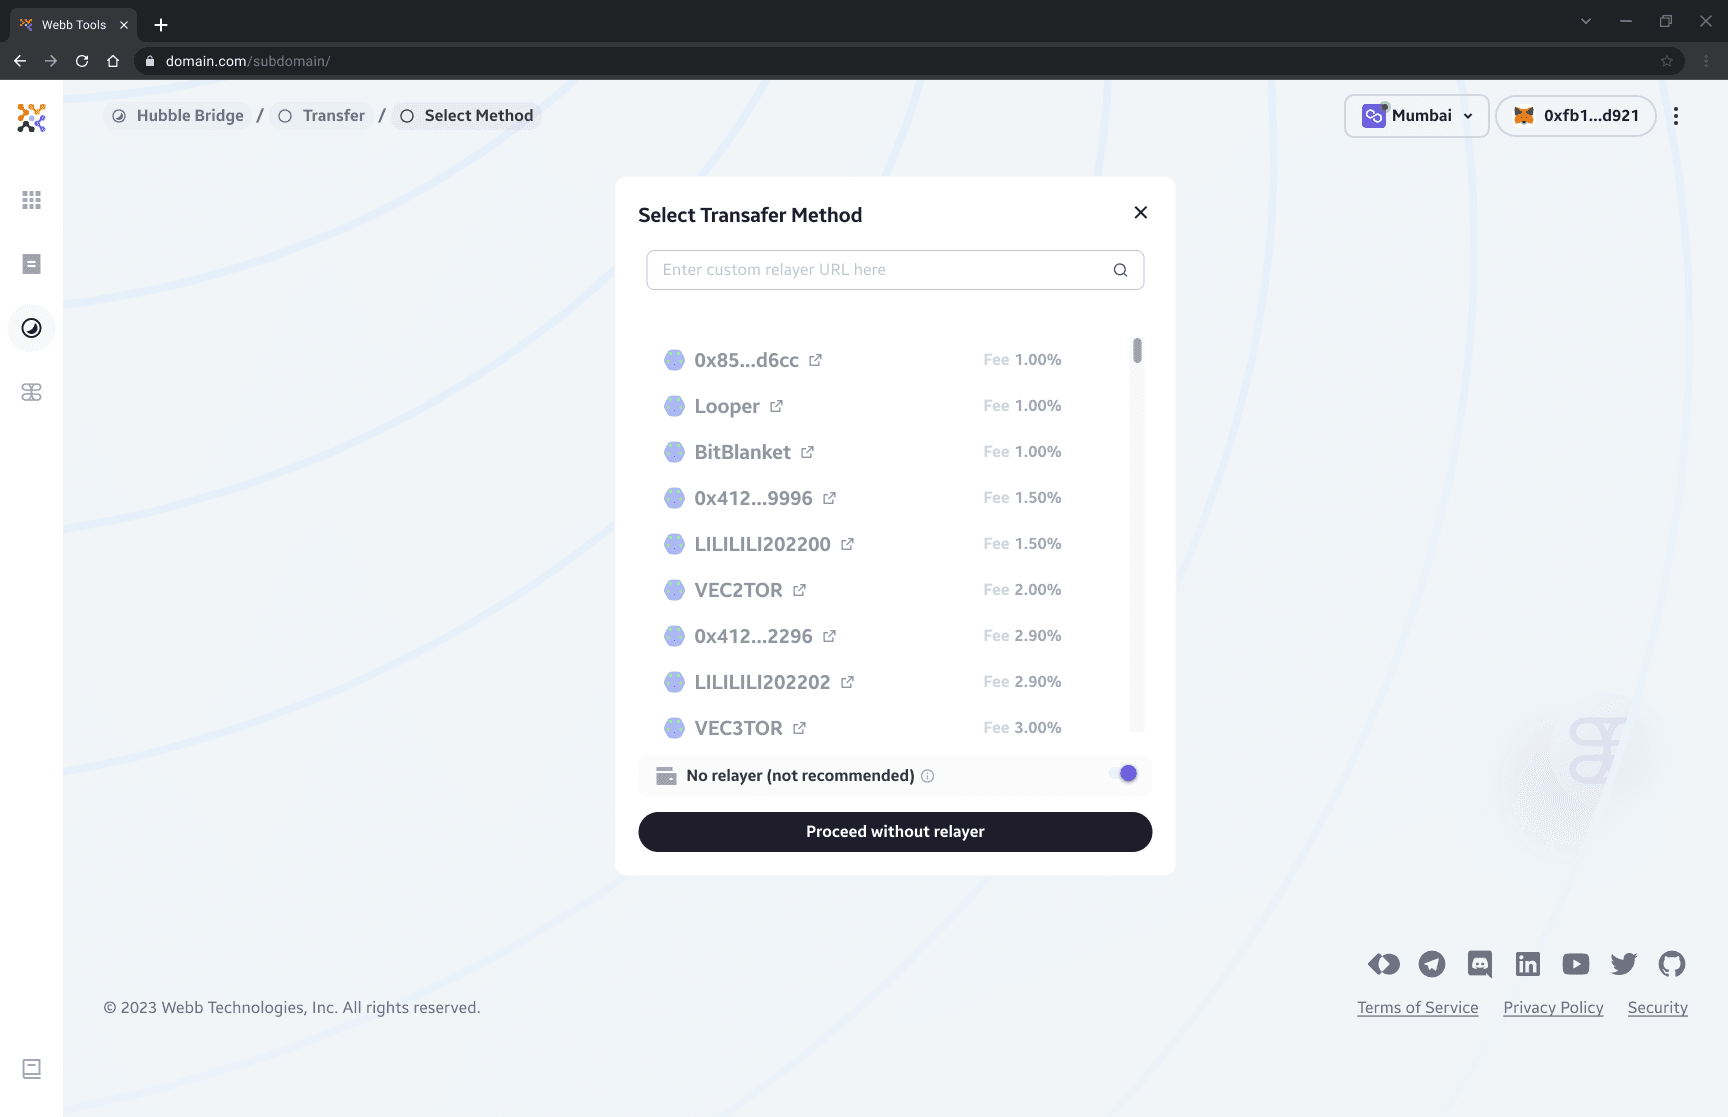
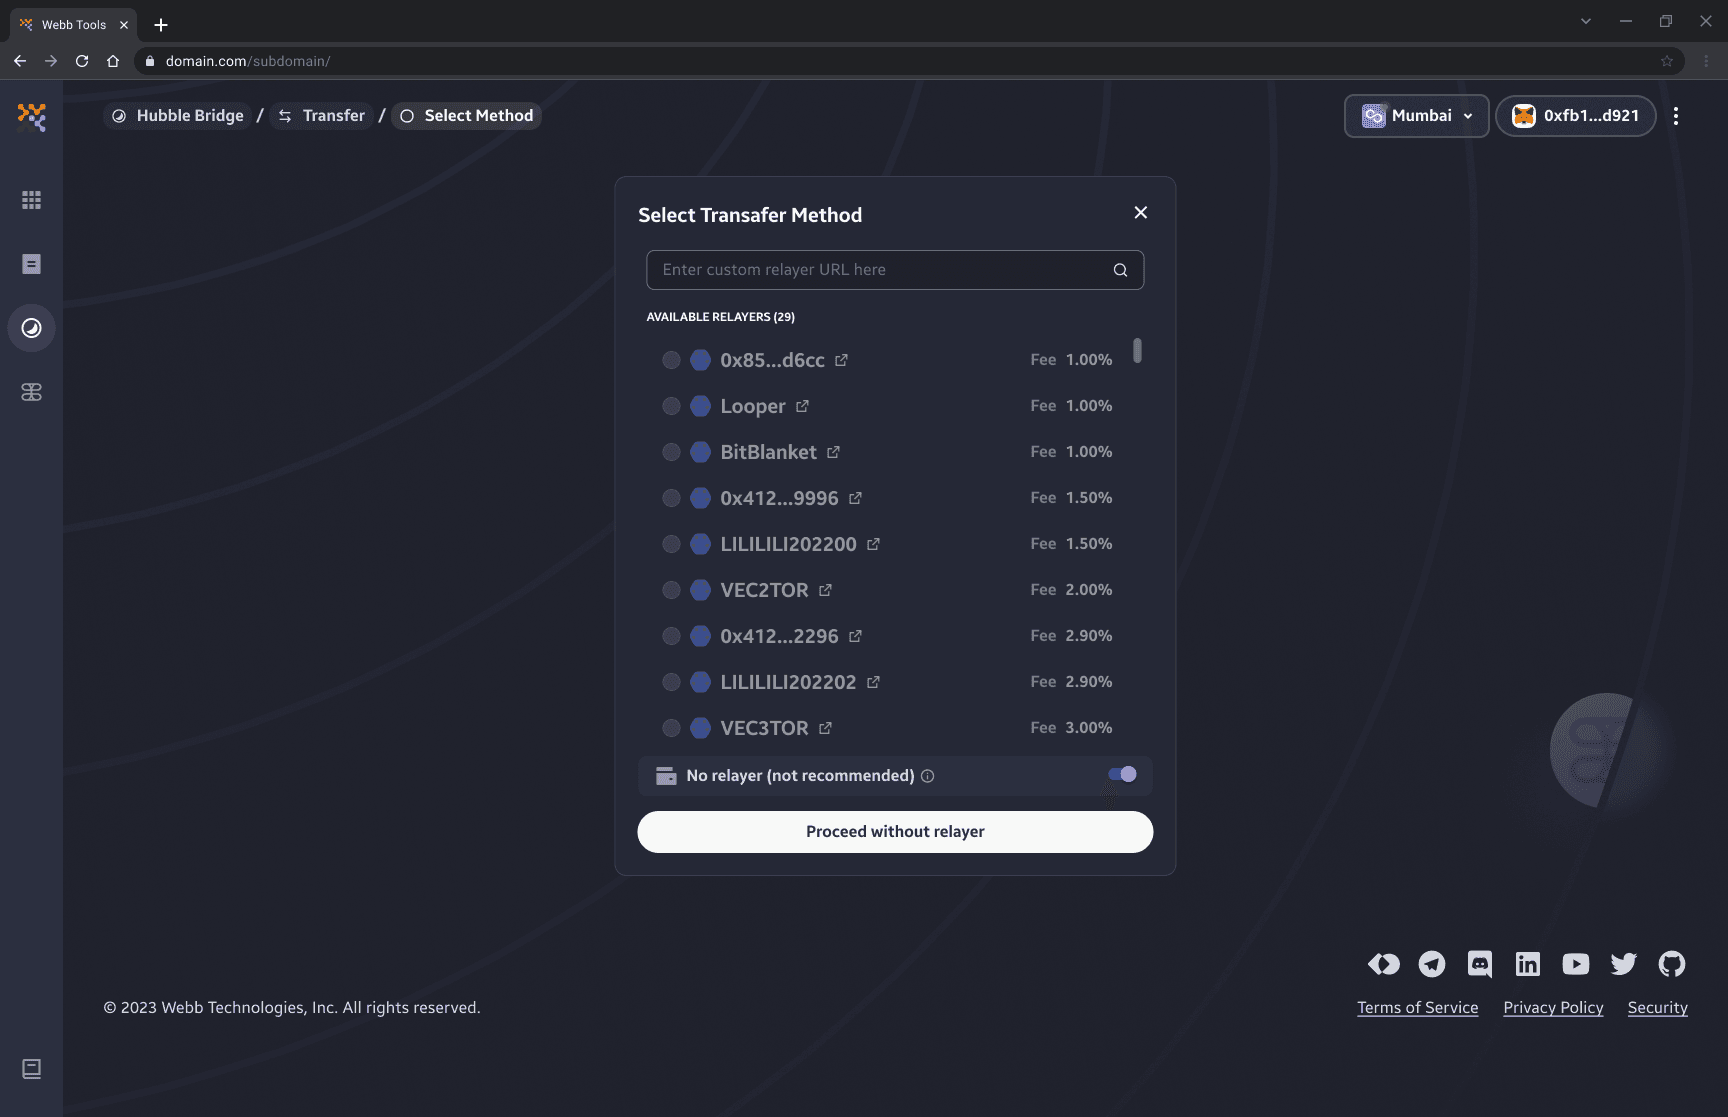
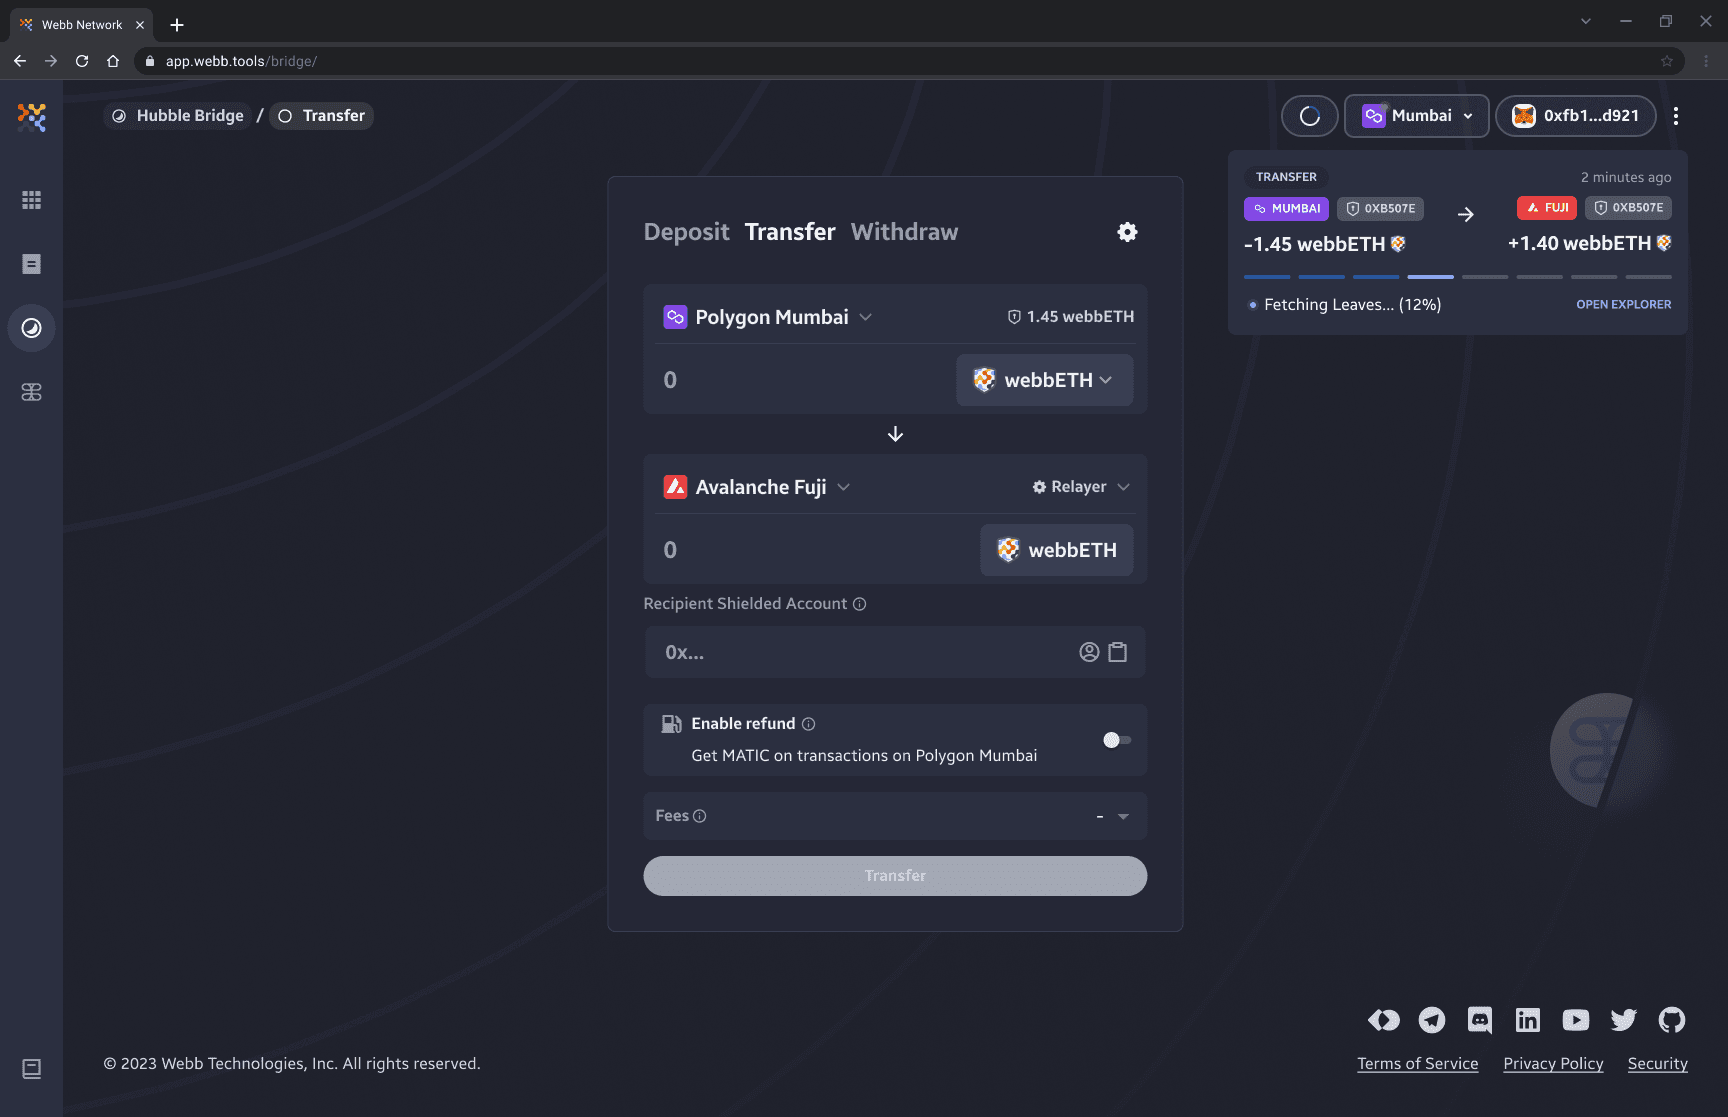
5. Select Relayer (Optional)
Using a relayer by default for transfers maximizes privacy. Relayers essentially act as intermediaries that broadcast transactions to the network. By doing so, relayers hide the original IP address, which could otherwise potentially be used to link identity to blockchain transactions.
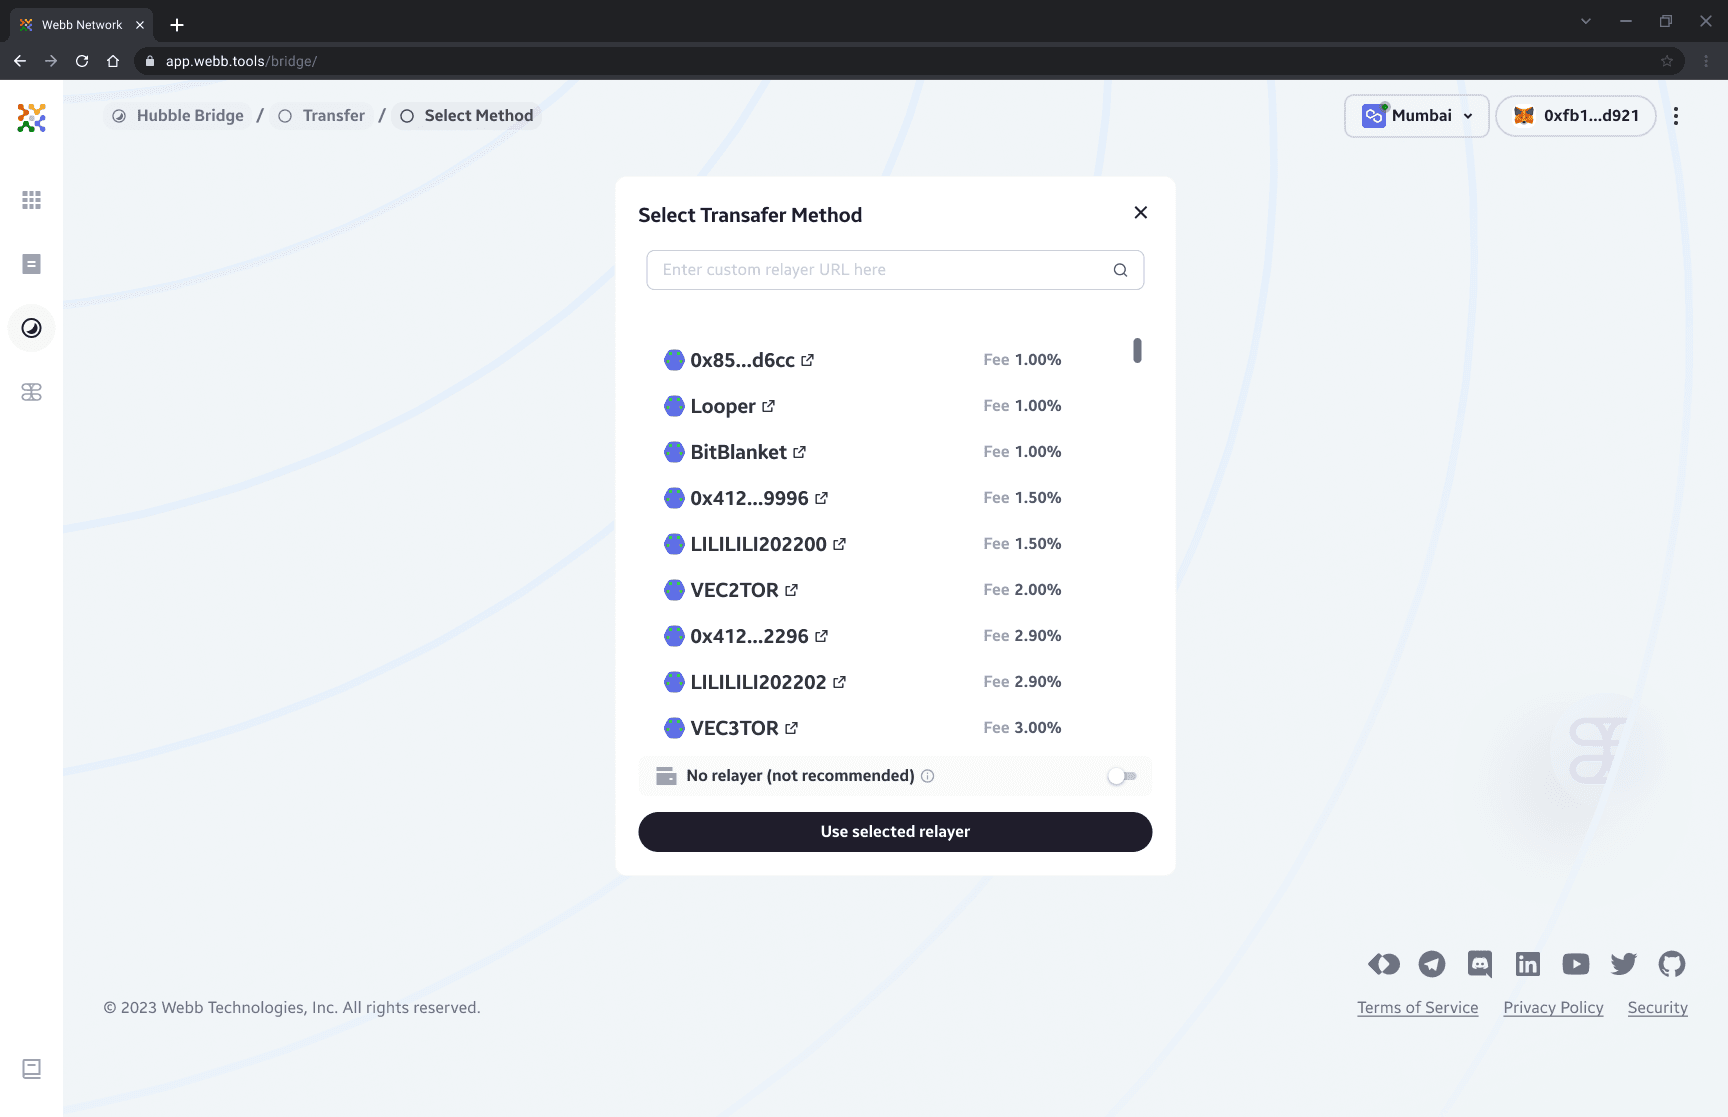
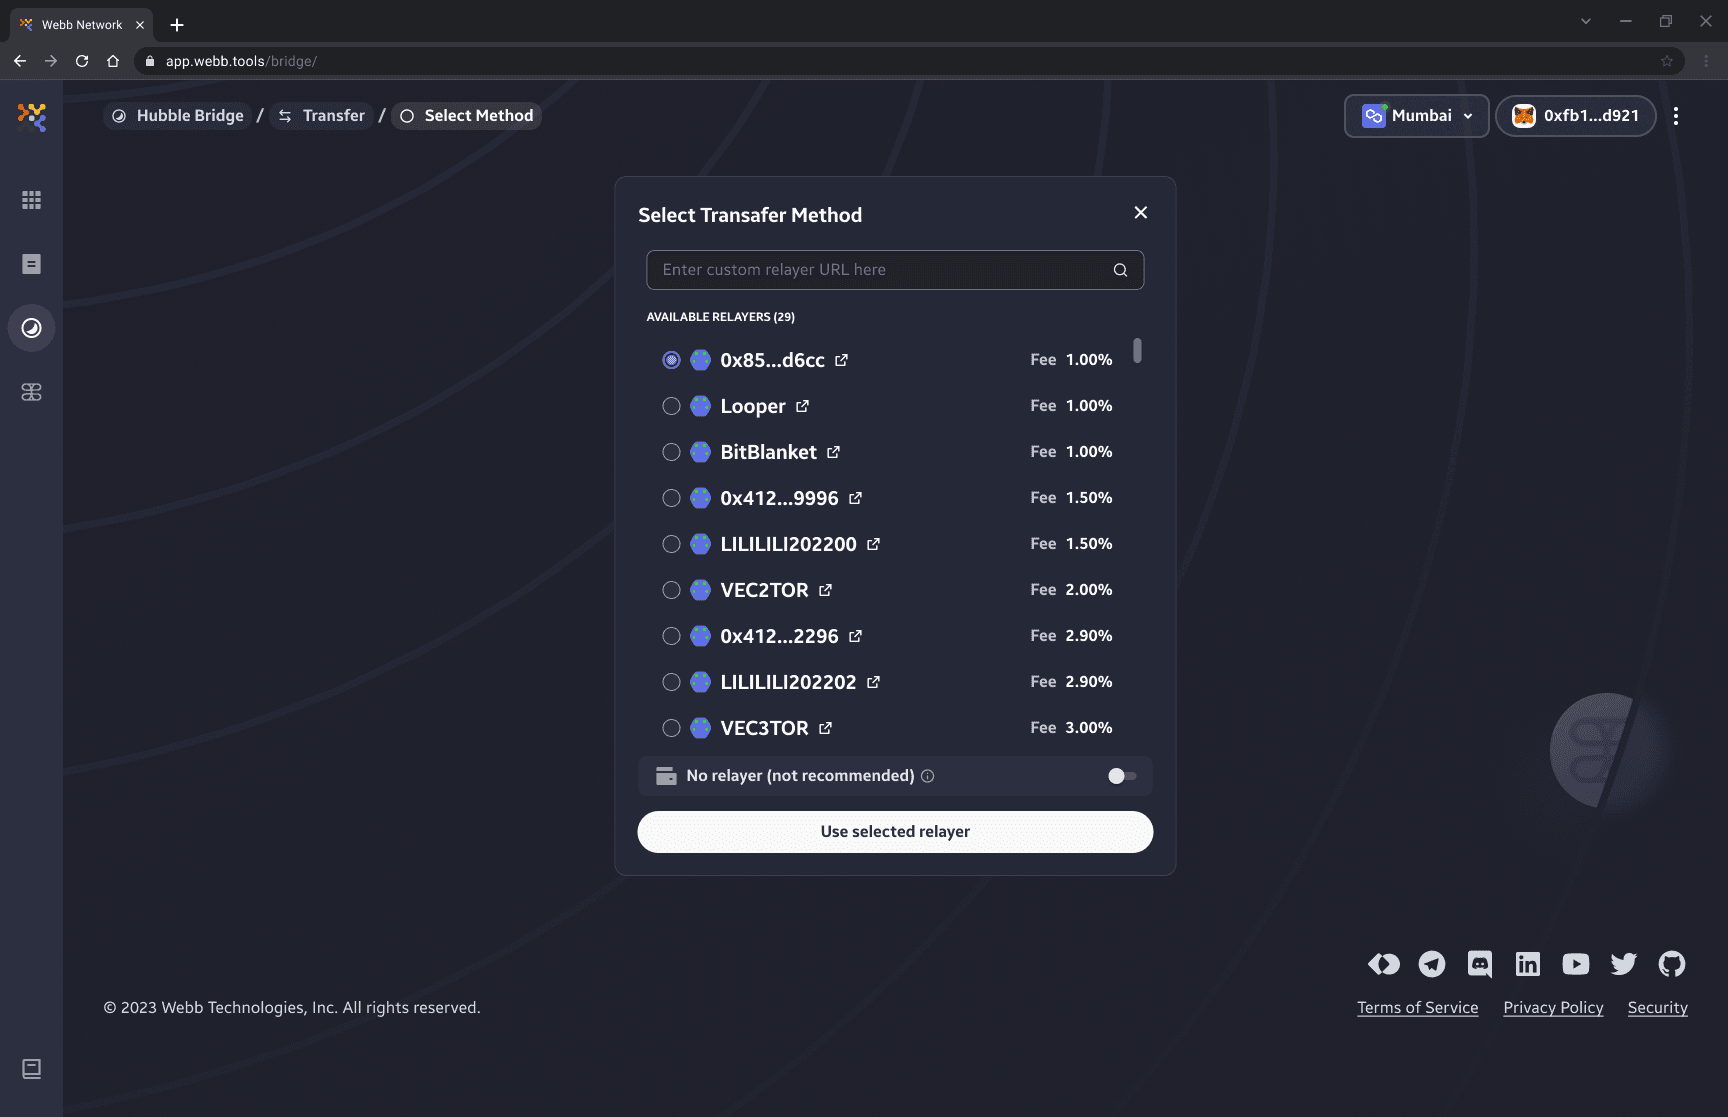
The bridge has preselected a default relayer for simplicity but also allow users to select their own relayer if they prefer (or not use a relayer at all if they choose).
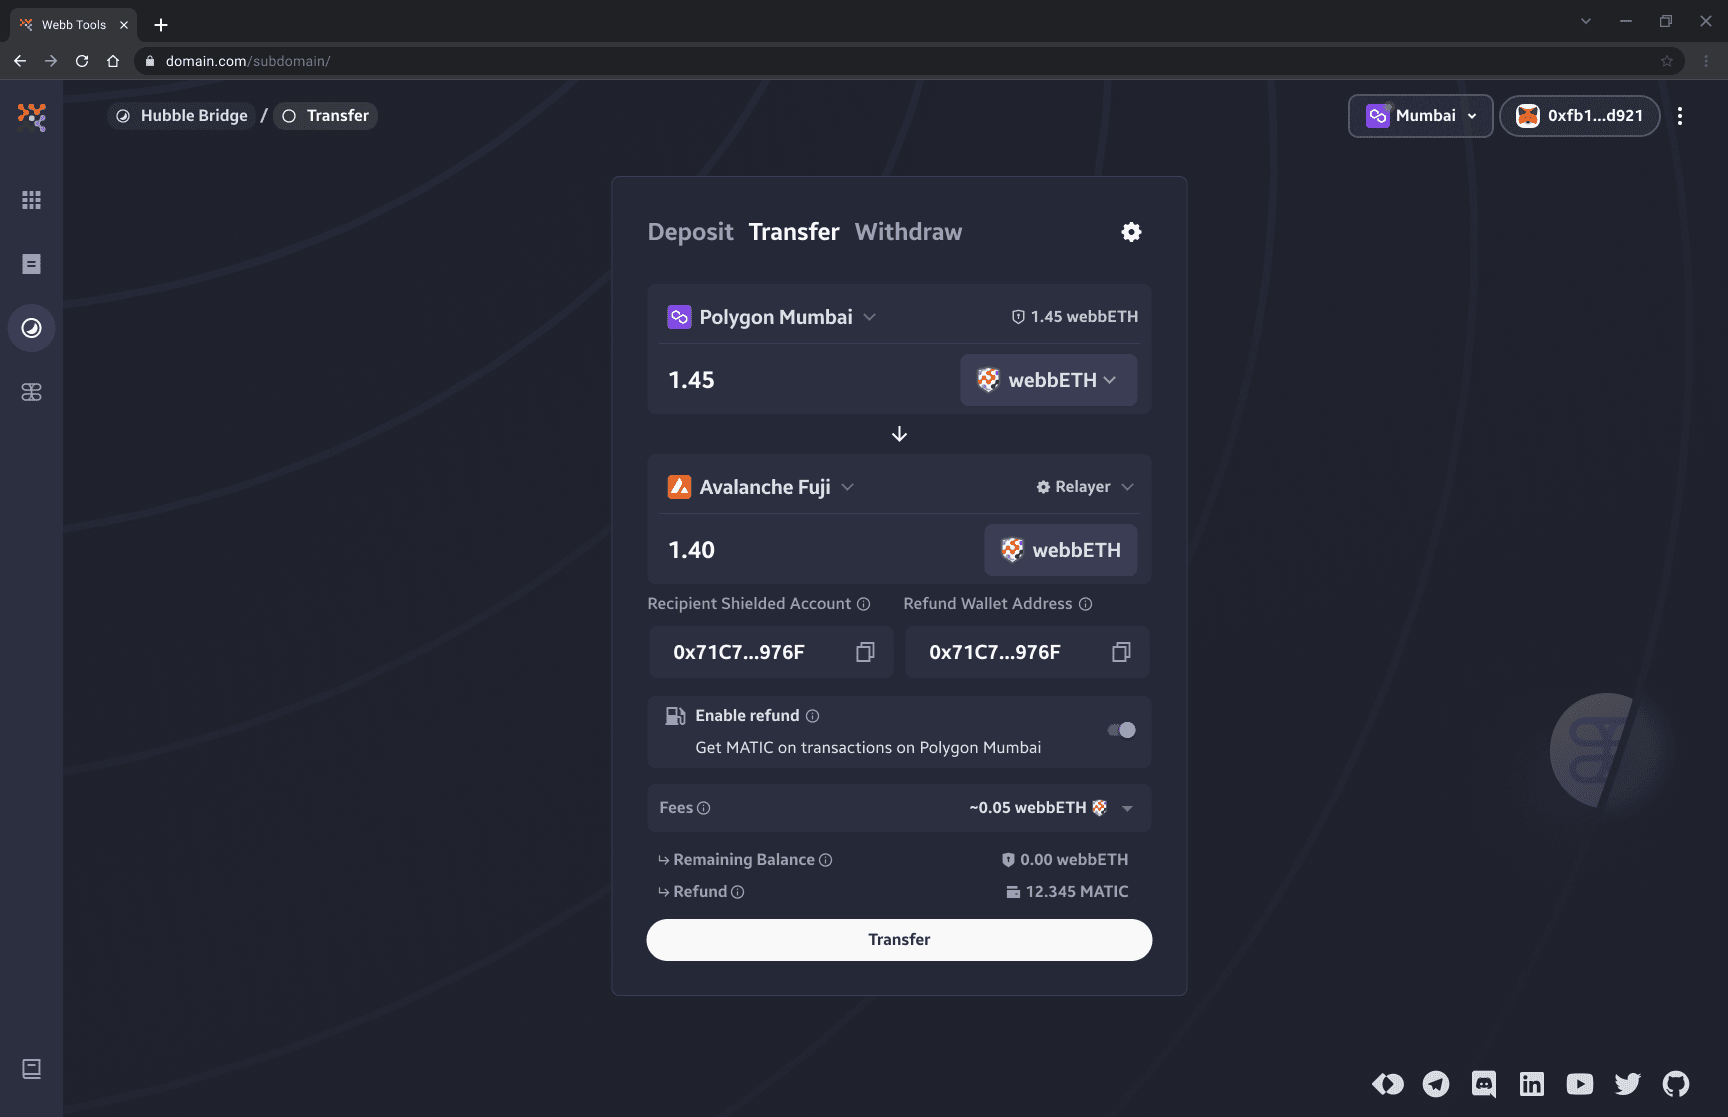
6. Enter Recipient Shielded Address [public key]
The recipient shielded address is the public key for the note account you wish to transfer your shielded assets to. You can view your own shielded address by clicking on the wallet connection at the top. See below image for details.
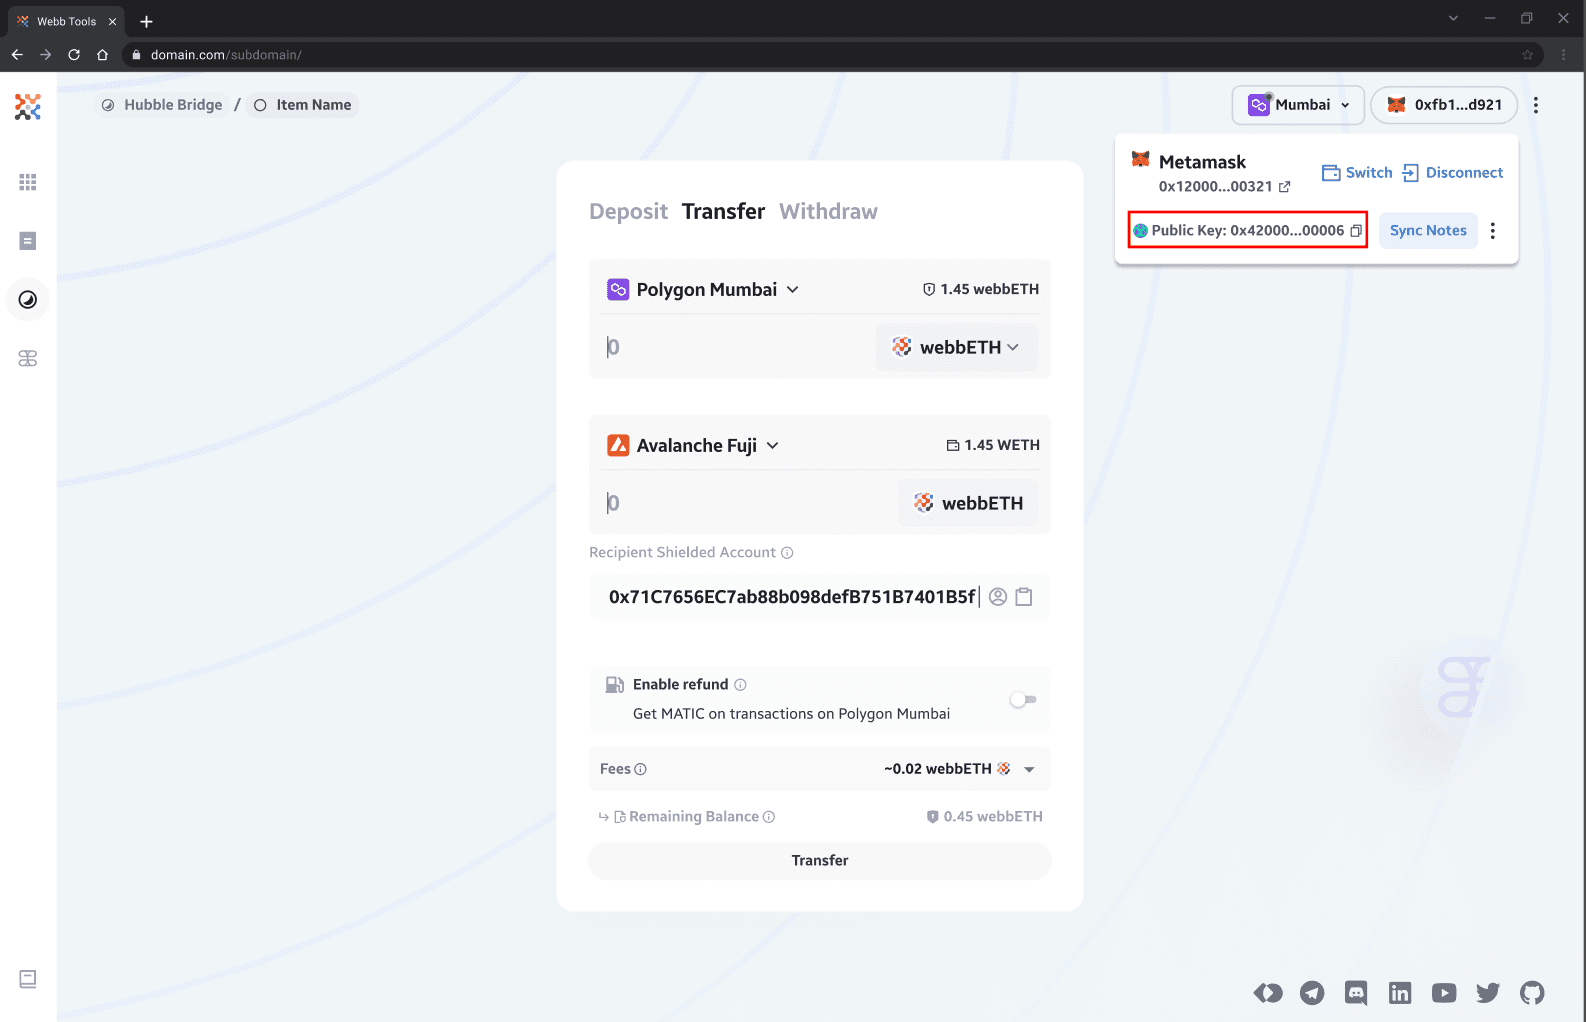
Once you have obtained the recipient's shielded address, input it into the Recipient Address component. Once you have input the address, you will notice that the Transfer button will be enabled.
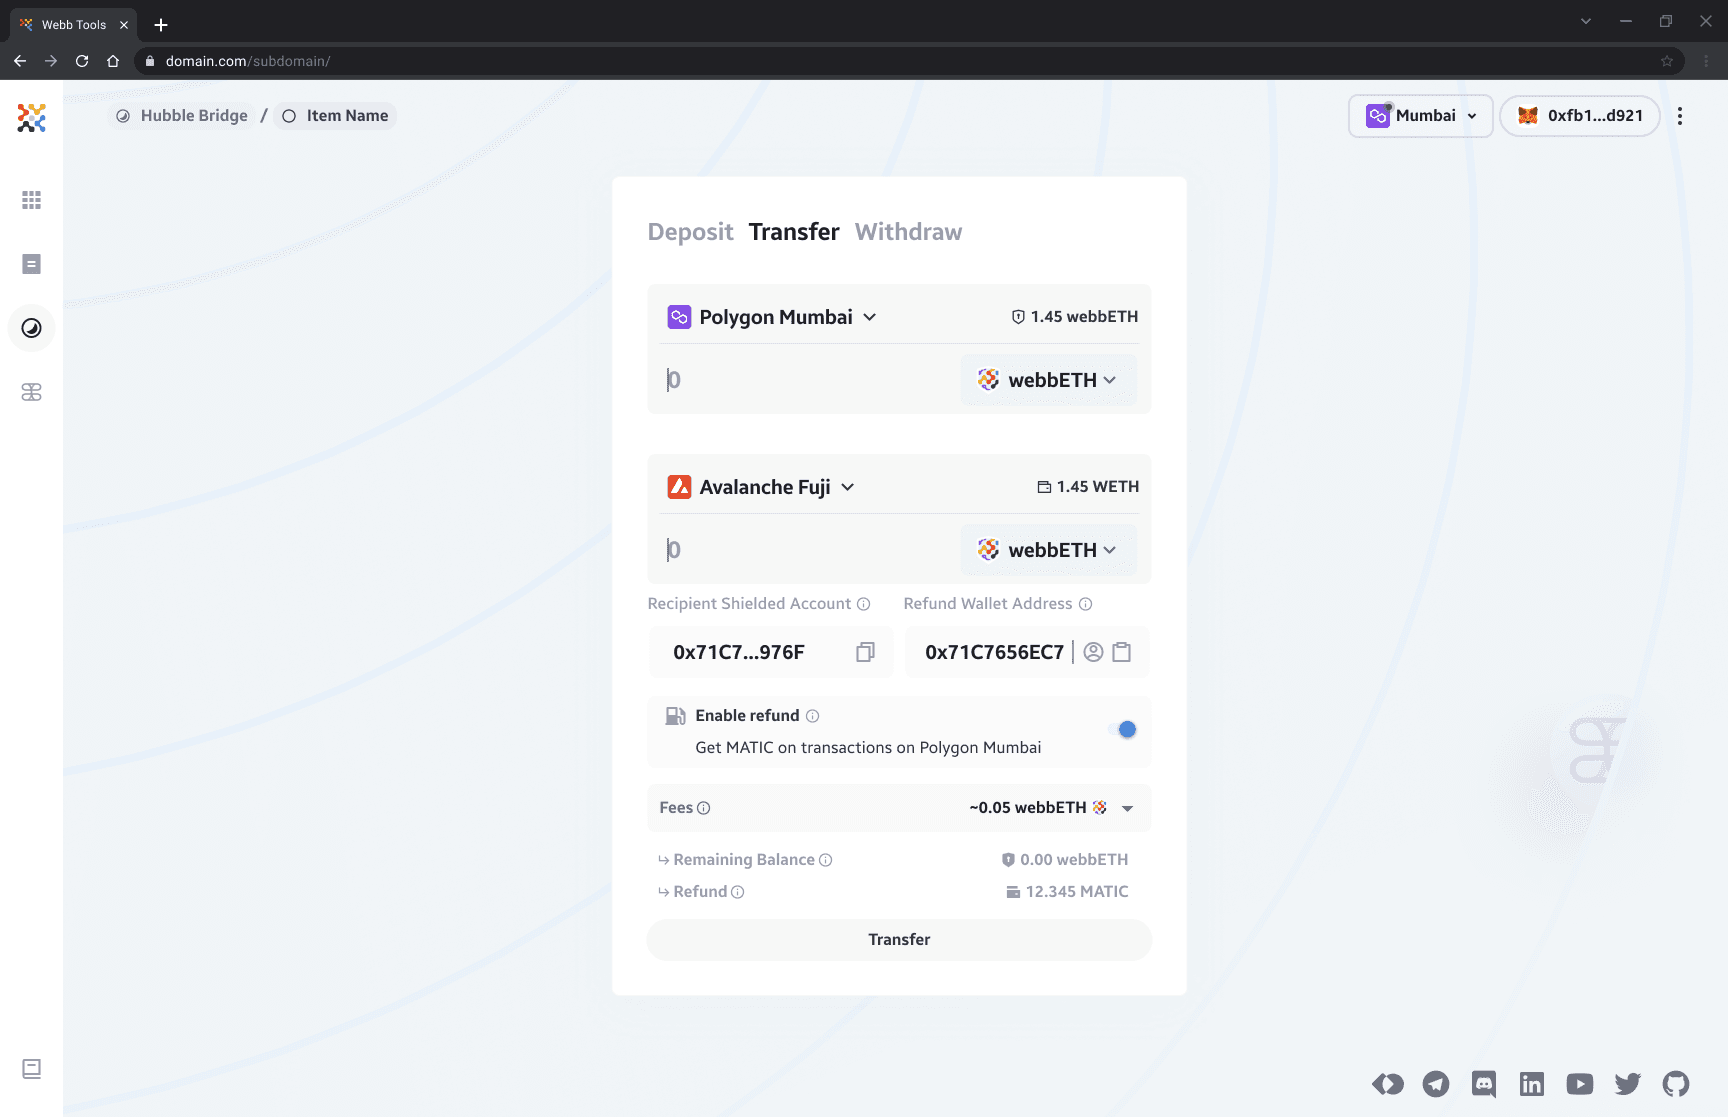
7. Enable Refund + Input Recipient (Optional)
The refund feature enables native tokens be sent to the provided recipient address so that they maintain their privacy and are able to execute subsequent transactions (e.g. pay for gas).
In our ecosystem we call this mechanism a refund. We refer to as a refund, when transactions uses a relayer they will also be given the option to receive native tokens in exchange for the wrapped asset. The relayer will have a configured option indicating the max refund amount of any given supported chain.
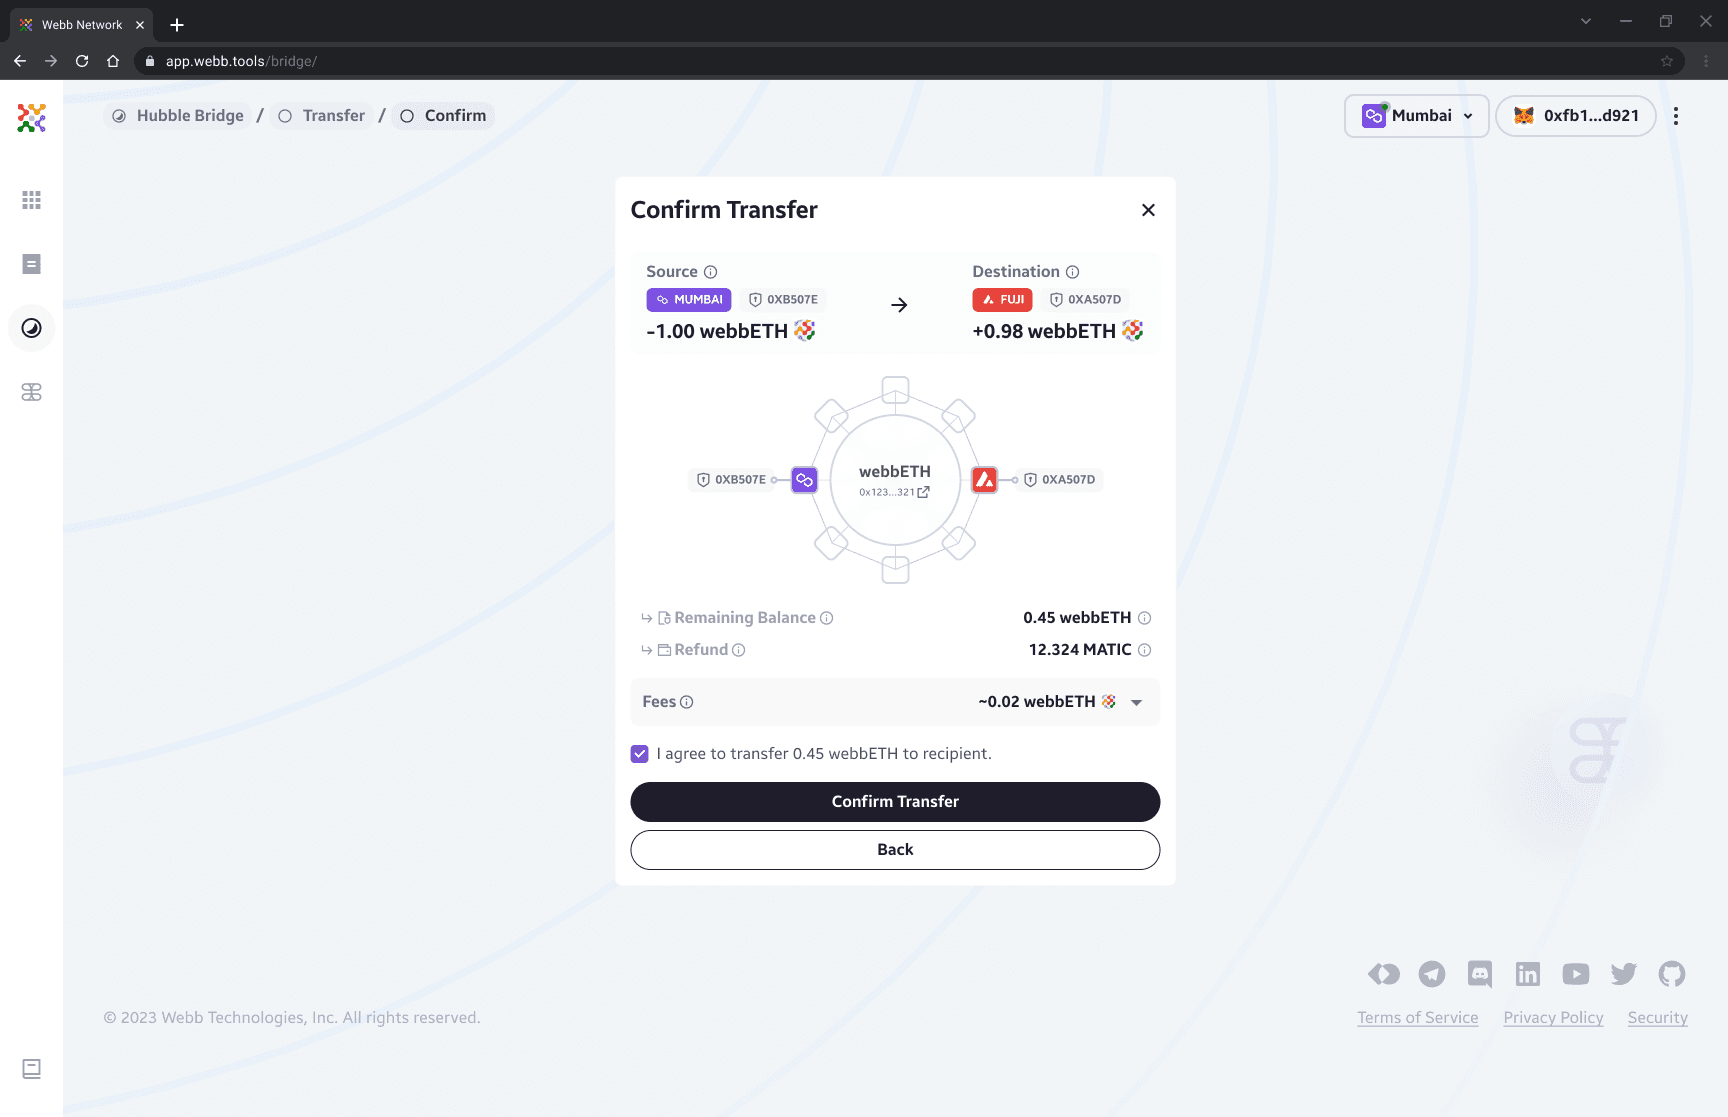
Confirming Transfer Details
Upon clicking the Transfer button you will be presented with the details of your transaction. It is important to review these transaction details to ensure they're accurate.
1. Verify Transfer Details
Review the transaction details of the transfer. Pay close attention to the recipient address you have provided and ensure its accuracy.
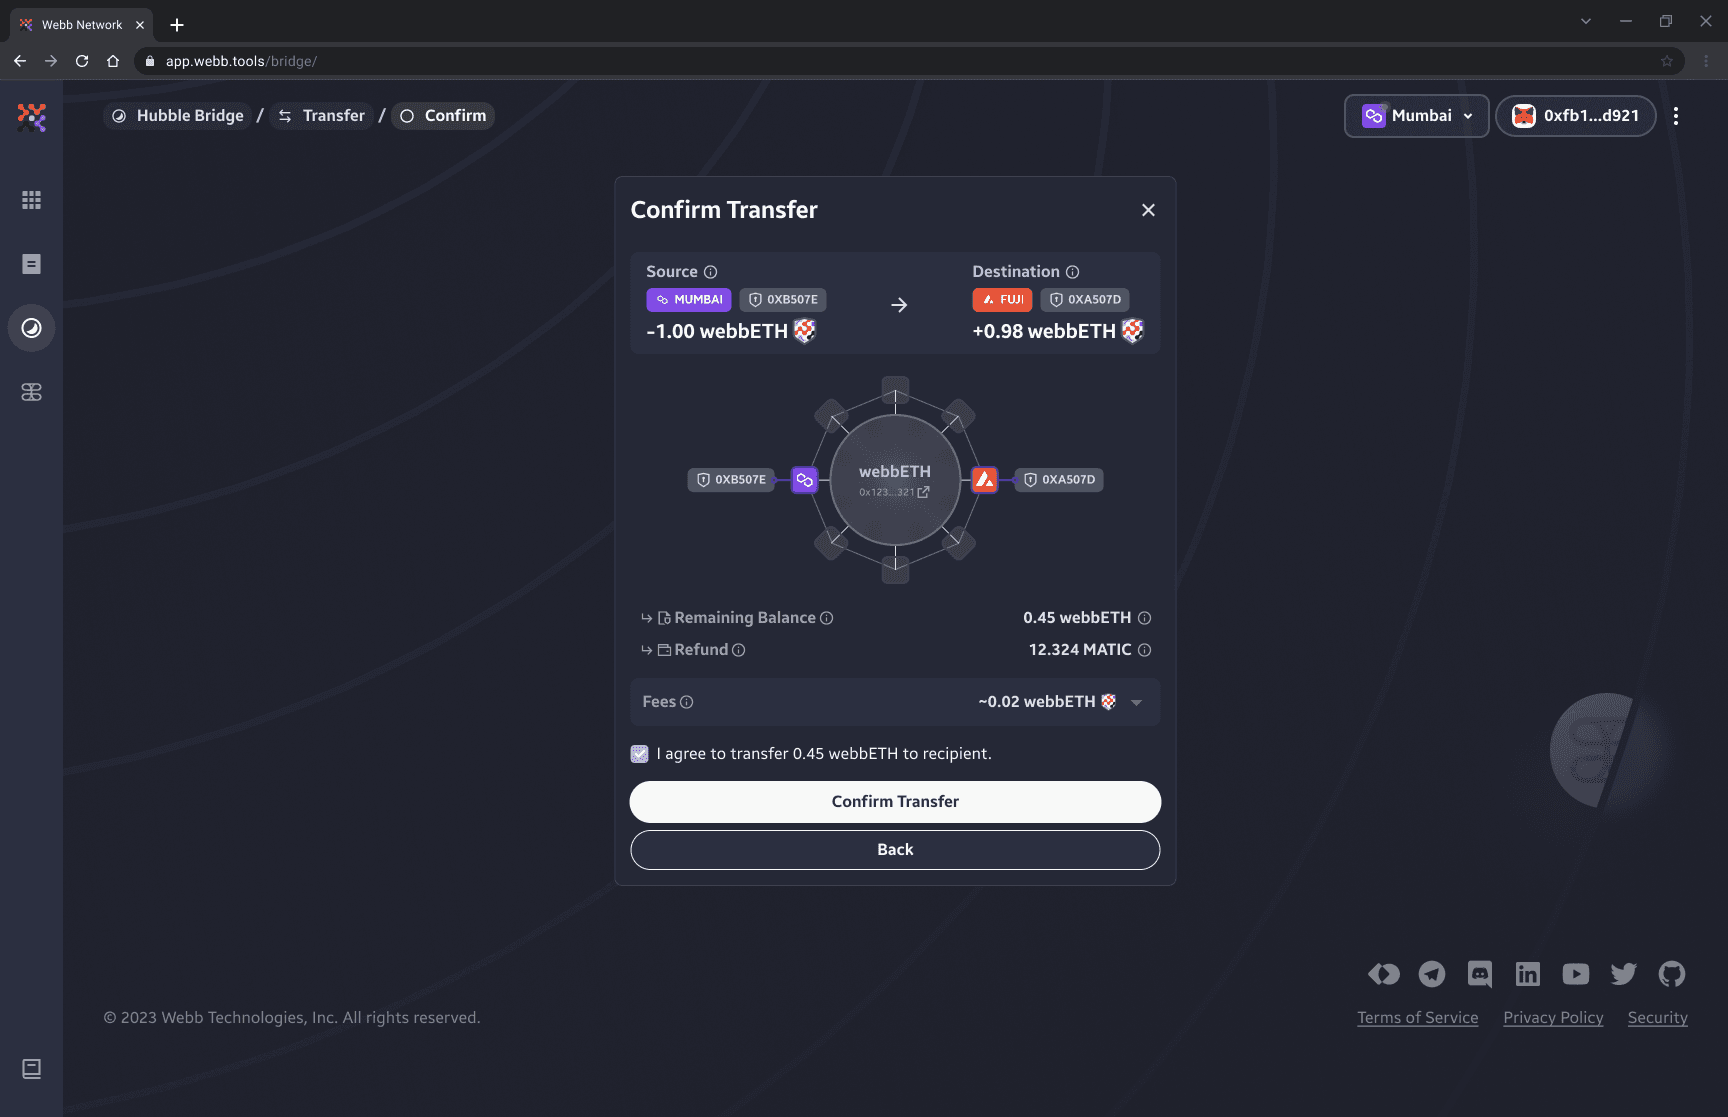
2. Confirm Change Note is Copied
Within the transfer in-progress view, you will need to confirm that you have copied the change note. A change note is a new note generated from your remaining balance. The change note should be kept in confidence as anyone who gains access to the note will be able to withdraw your funds from the bridge. Your notes are stored locally as you transact through this application as well as encrypted on-chain for persistent storage.
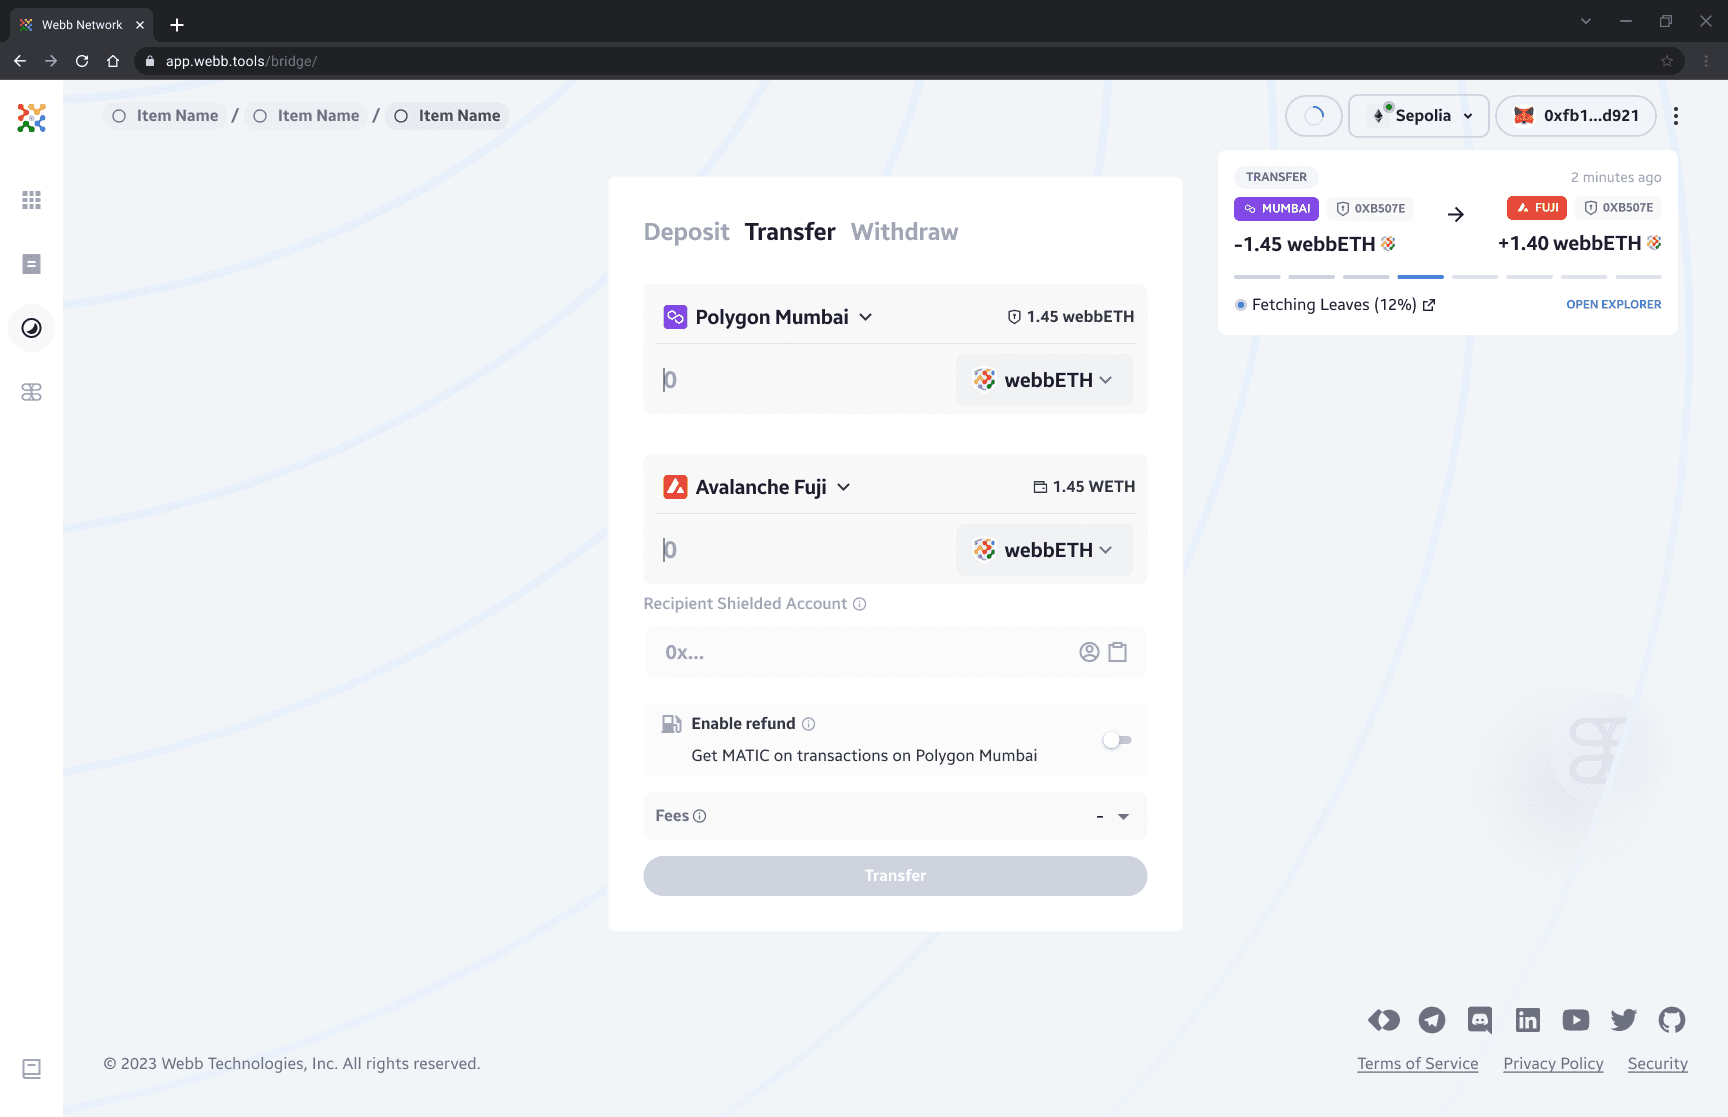
3. Transfer In-Progress
Before the transfer transaction can be completed we transition through the following stages:
- Fetching transaction leaves
- Generate zero knowledge proof
- Send transaction to recipient address
You may observe the progress of each stage within the transfer in-progress view. If you would like to proceed with an additional transaction you can click New Transaction and begin on your next transaction. The Hubble dApp conveniently keeps a notification card with transaction details and progress on the right side to keep you informed when the transaction is successful.
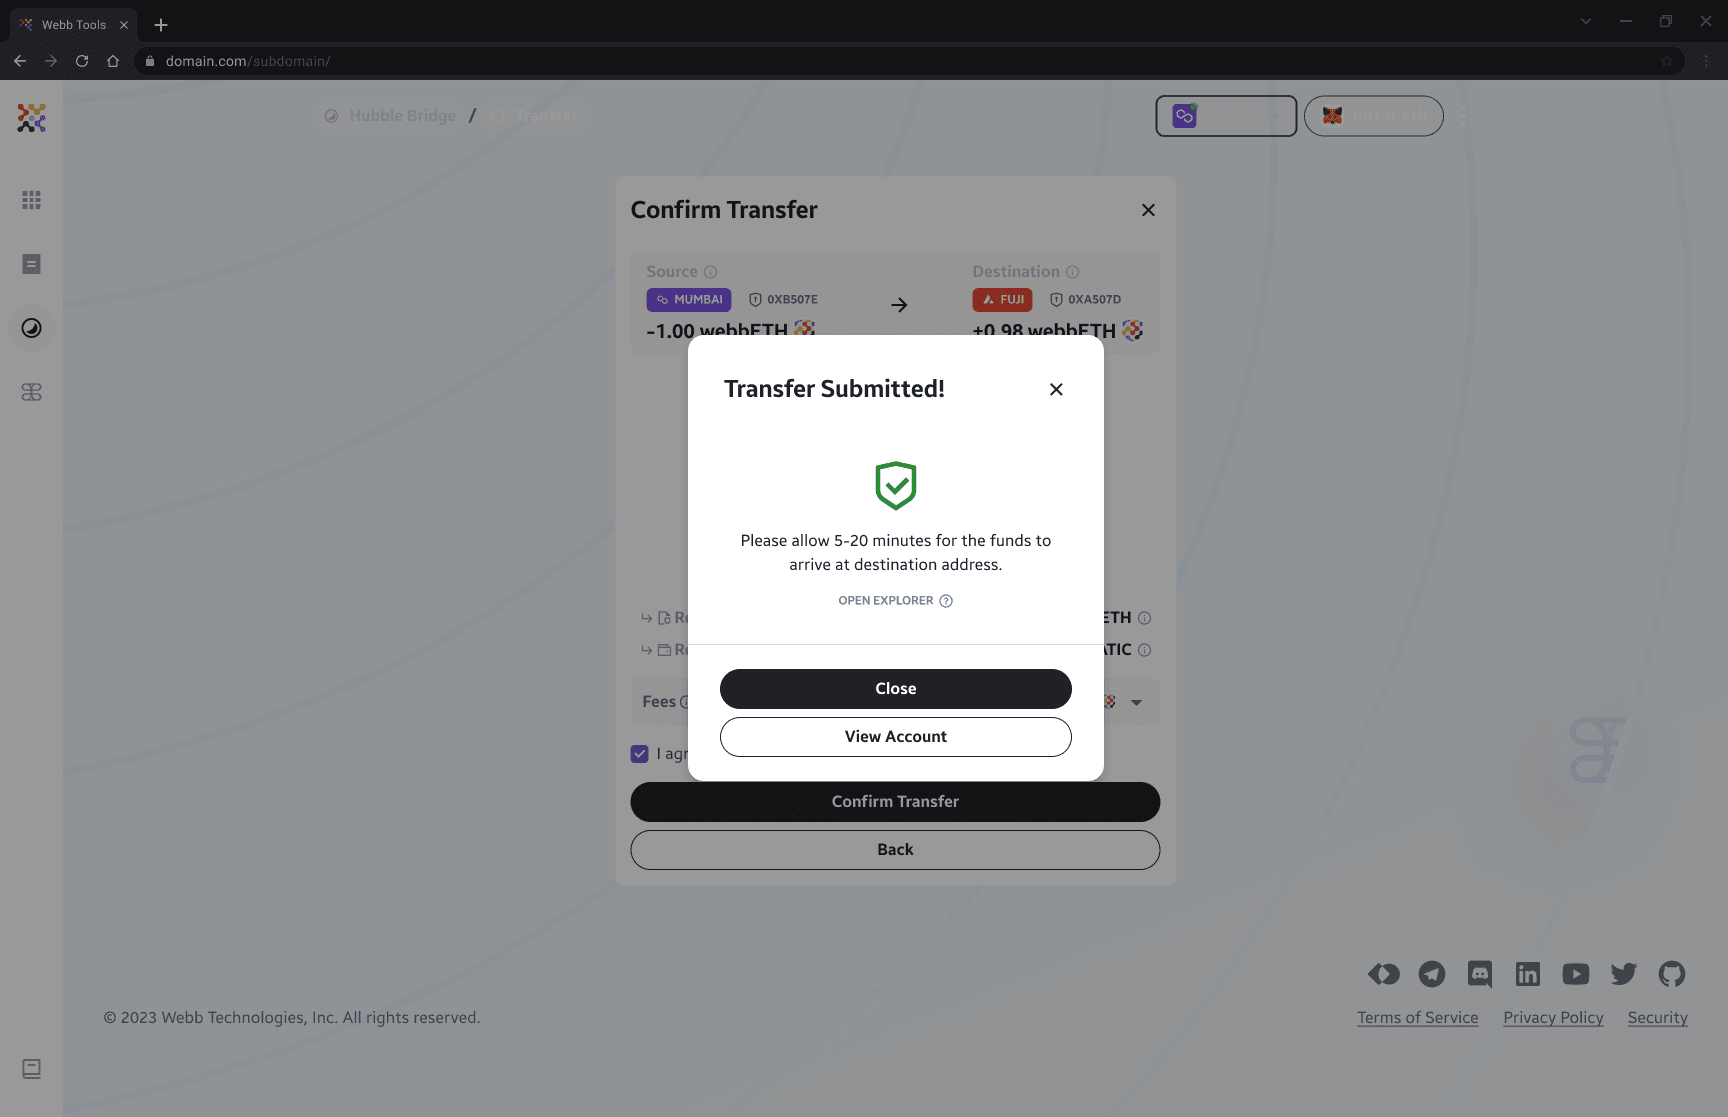
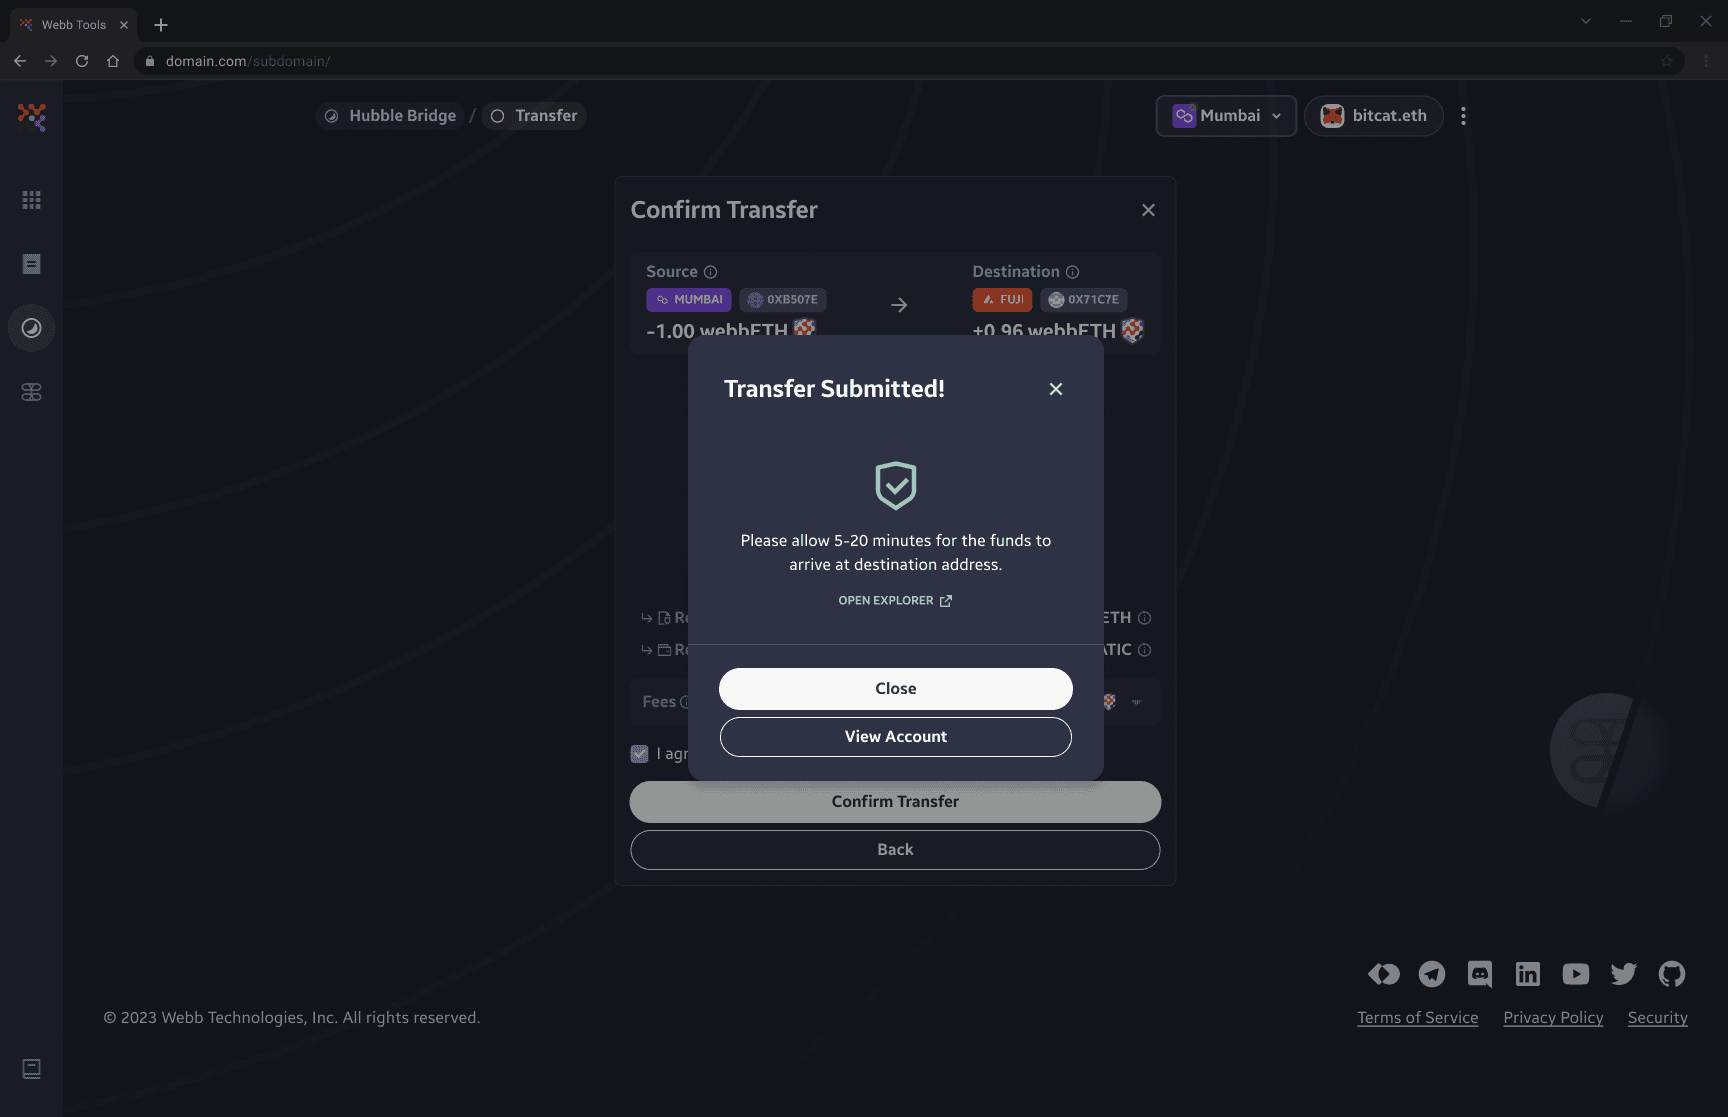
3. Successful Transfer
When the transfer transaction is completed you can observe a successful confetti filled message in the notification card! If you want to see the transaction in a block explorer, click on the Successfully Transfer link within the notification card.